Royally Scottish
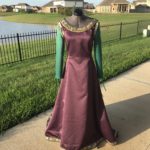
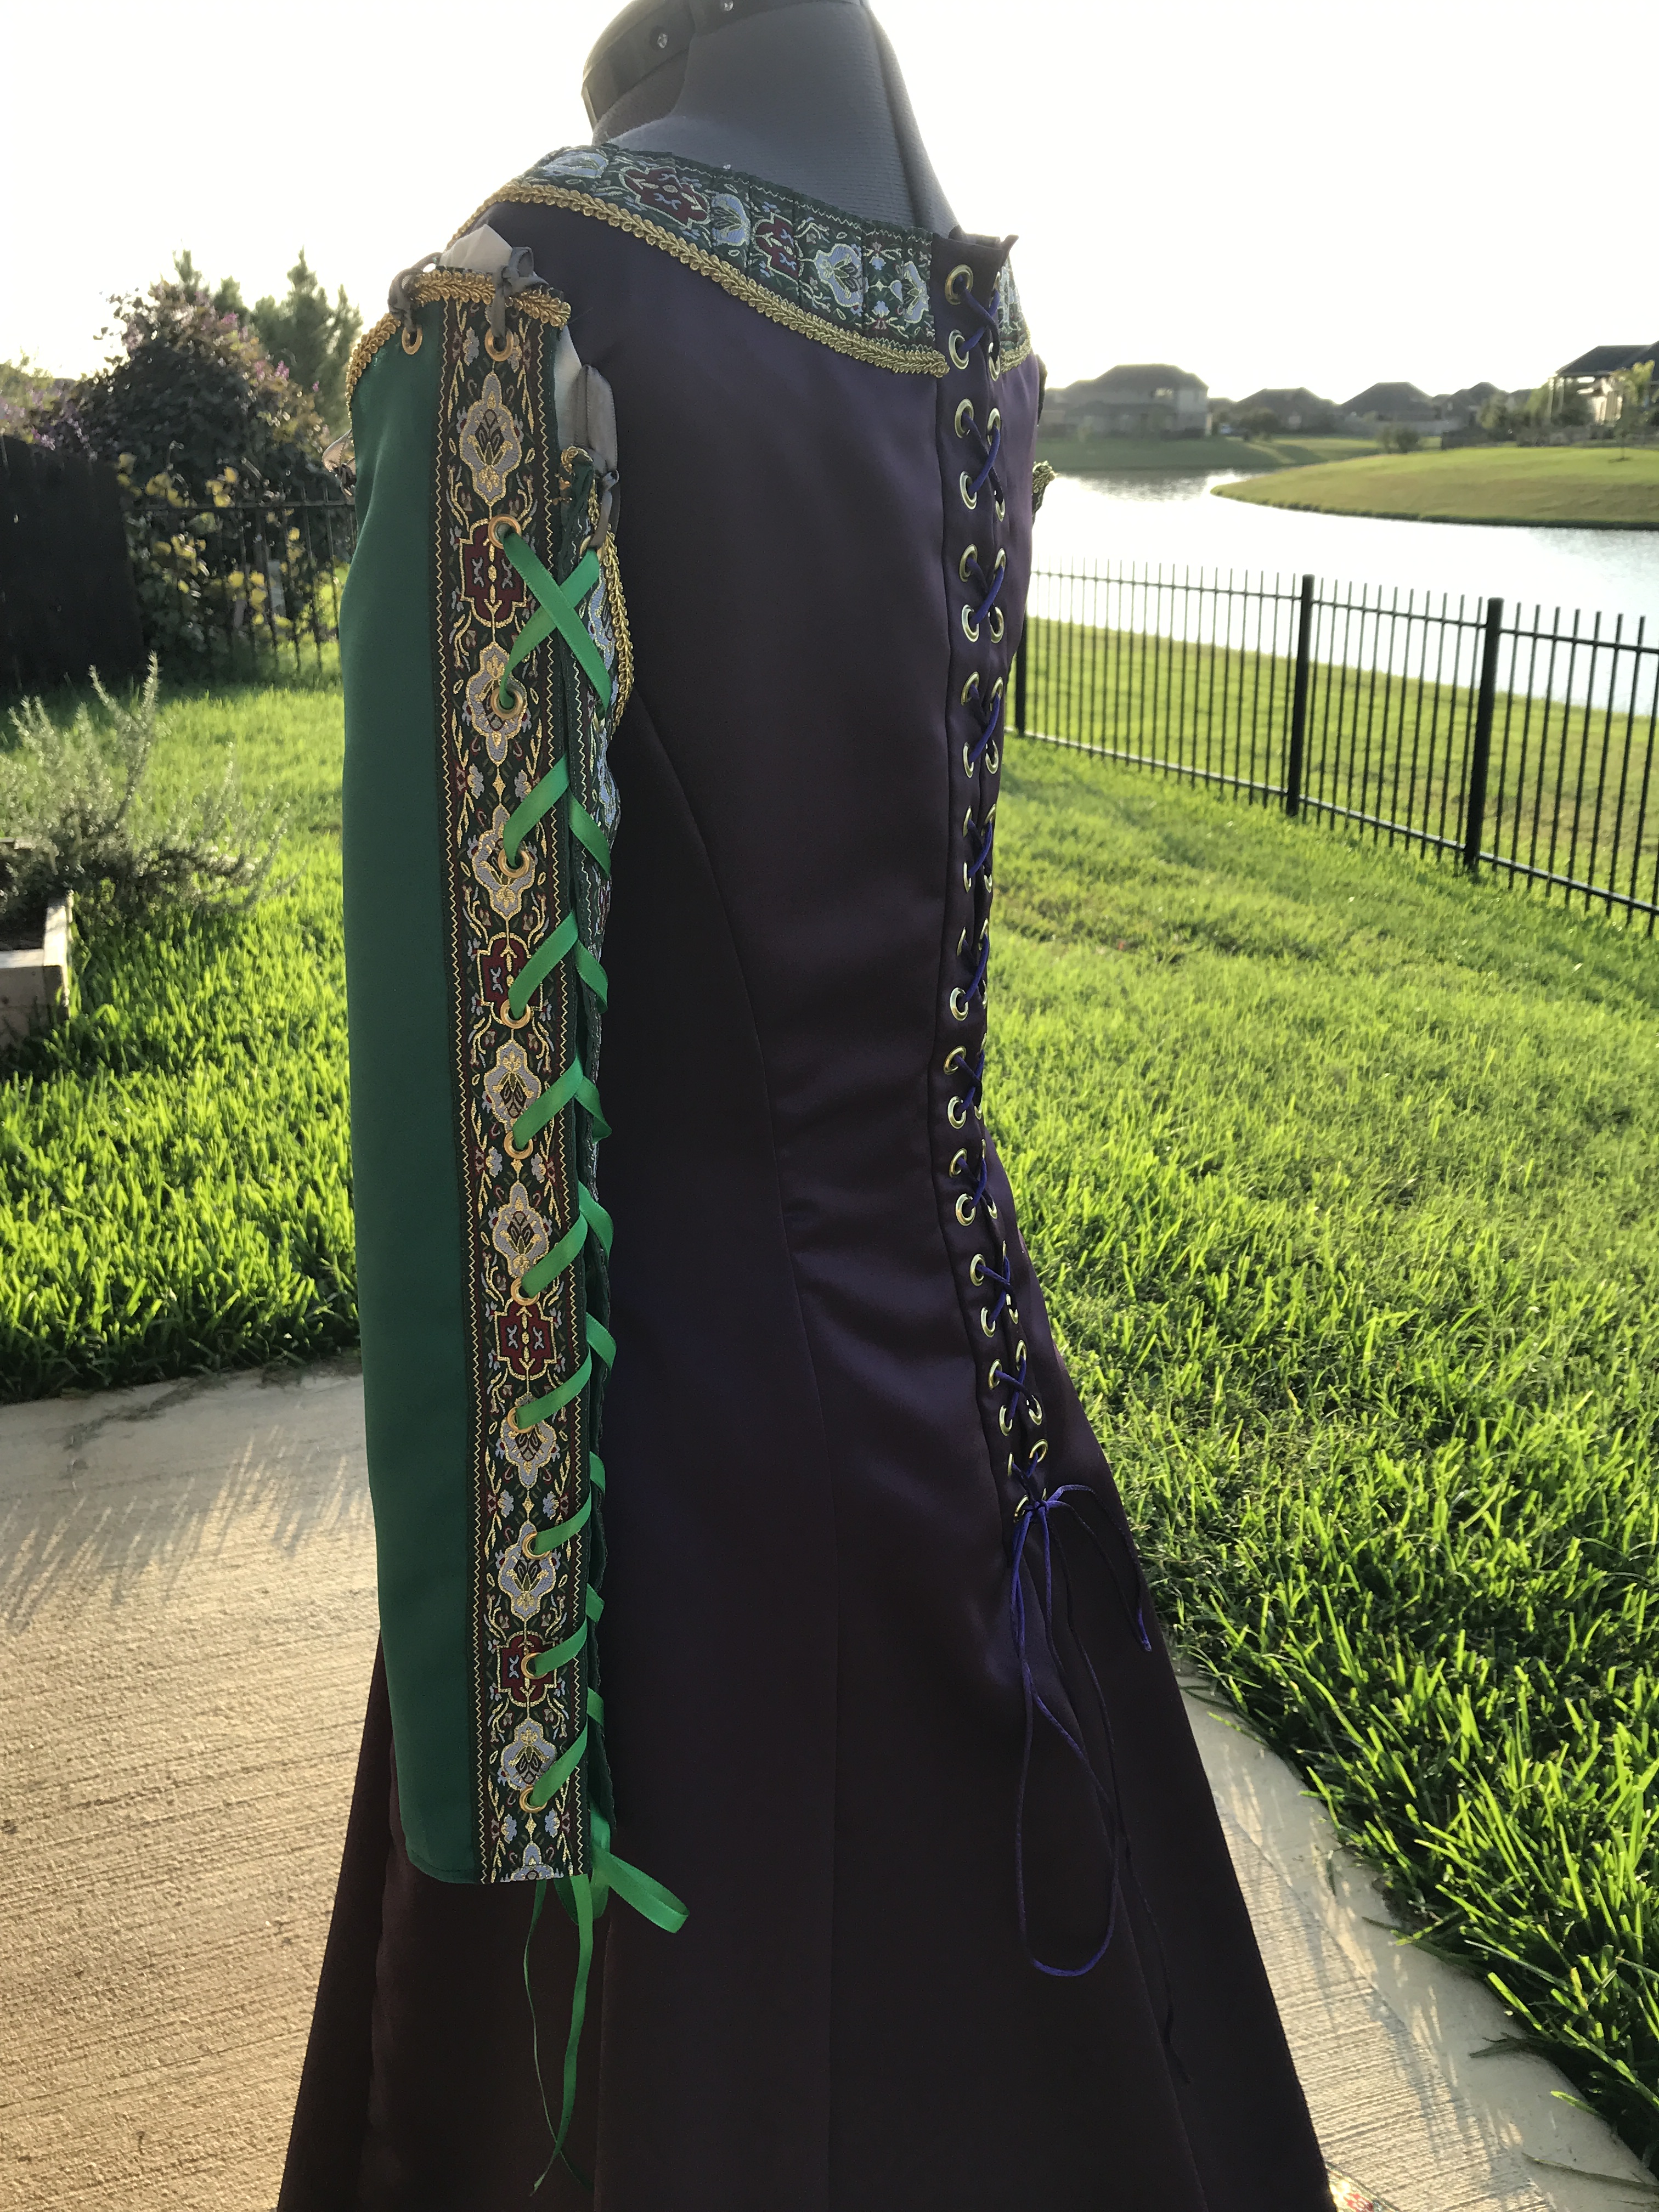
This year was a busy year for Renaissance costume requests and alterations. One of my favorite makes from all of this was this beautiful purple satin medieval gown.

My friend Karen came to me asking for a simple Renaissance gown that matched the style of her husband’s kilt, for this year’s Texas Renaissance Festival. Whenever I look at kilts I think of the Scottish and Celtic roots.
I did a Google search for Medieval Celtic Dresses and found this lovely gown that immediately made me think of Karen.

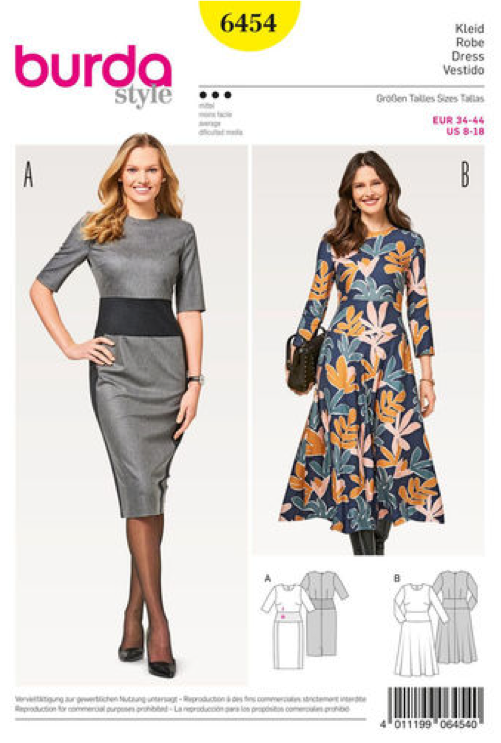
The next step in my process, as with every outfit, I went searching for Renaissance/Medieval dress patterns that had the same silhouette as the gown we chose.
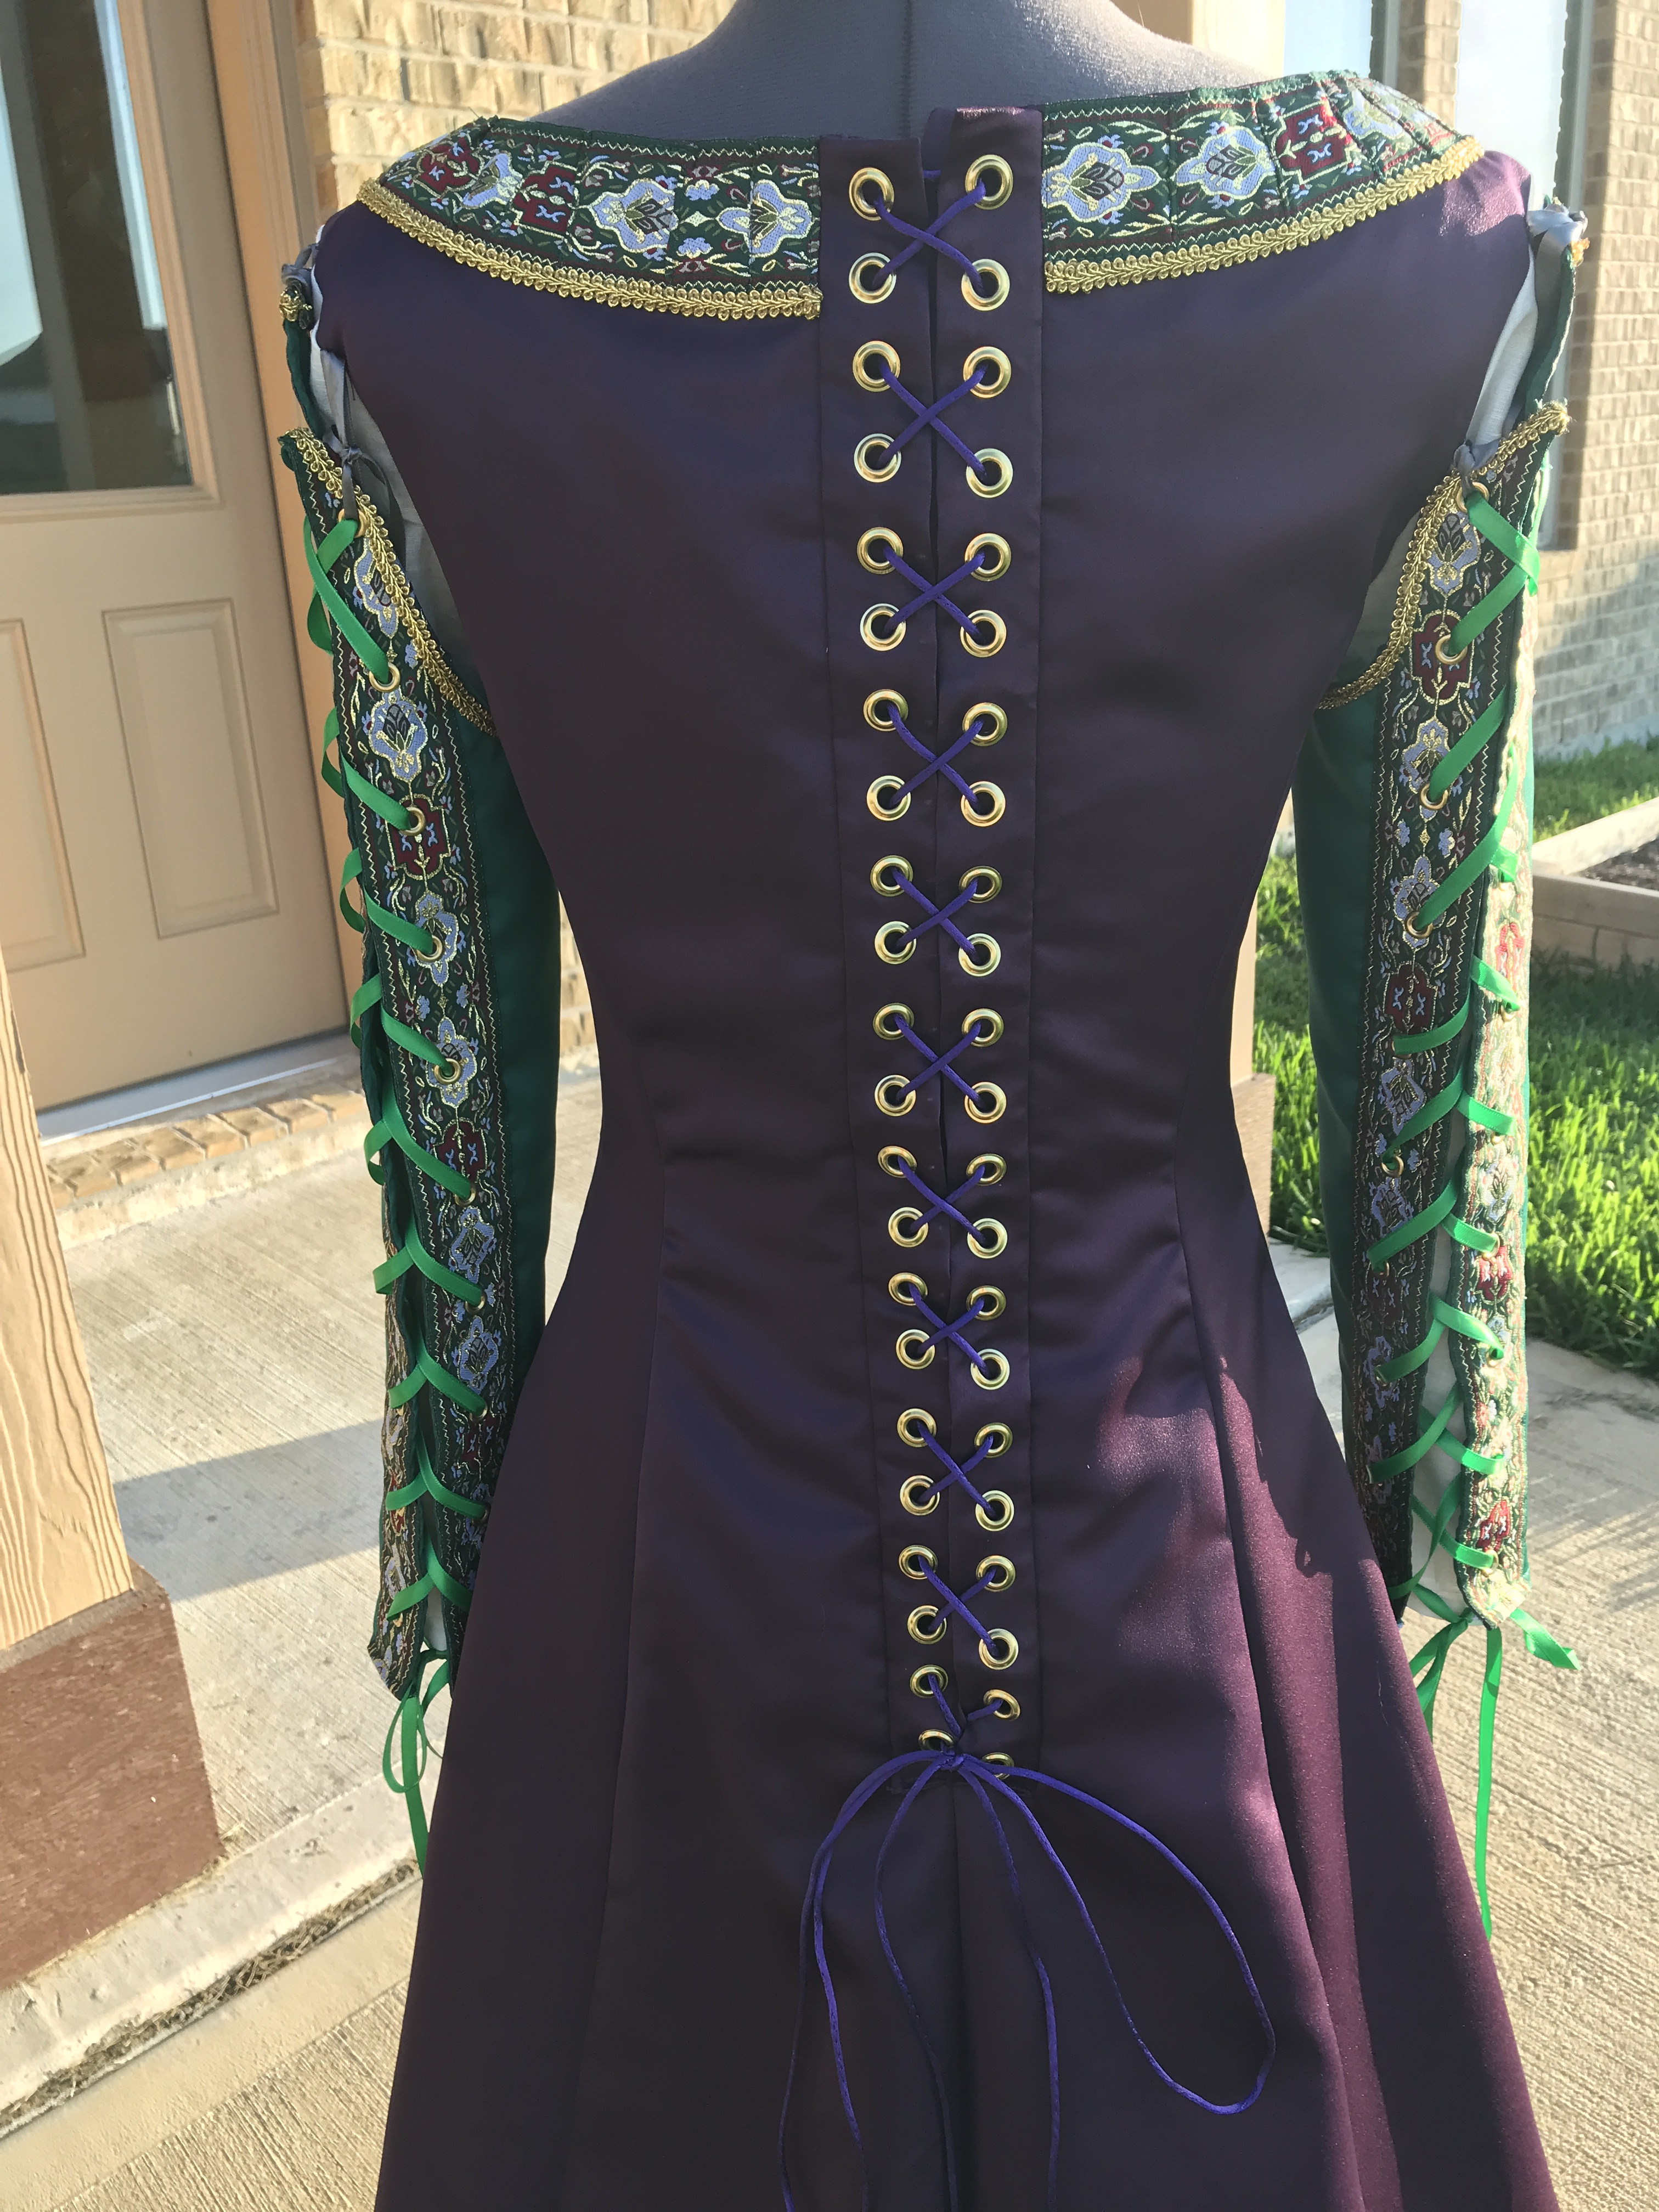
Butterick B4827 was a dead ringer for the dress with the exception of the sleeves, easy pattern hacking fix.

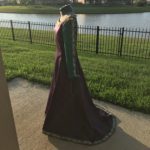
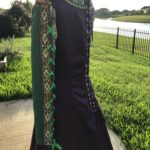
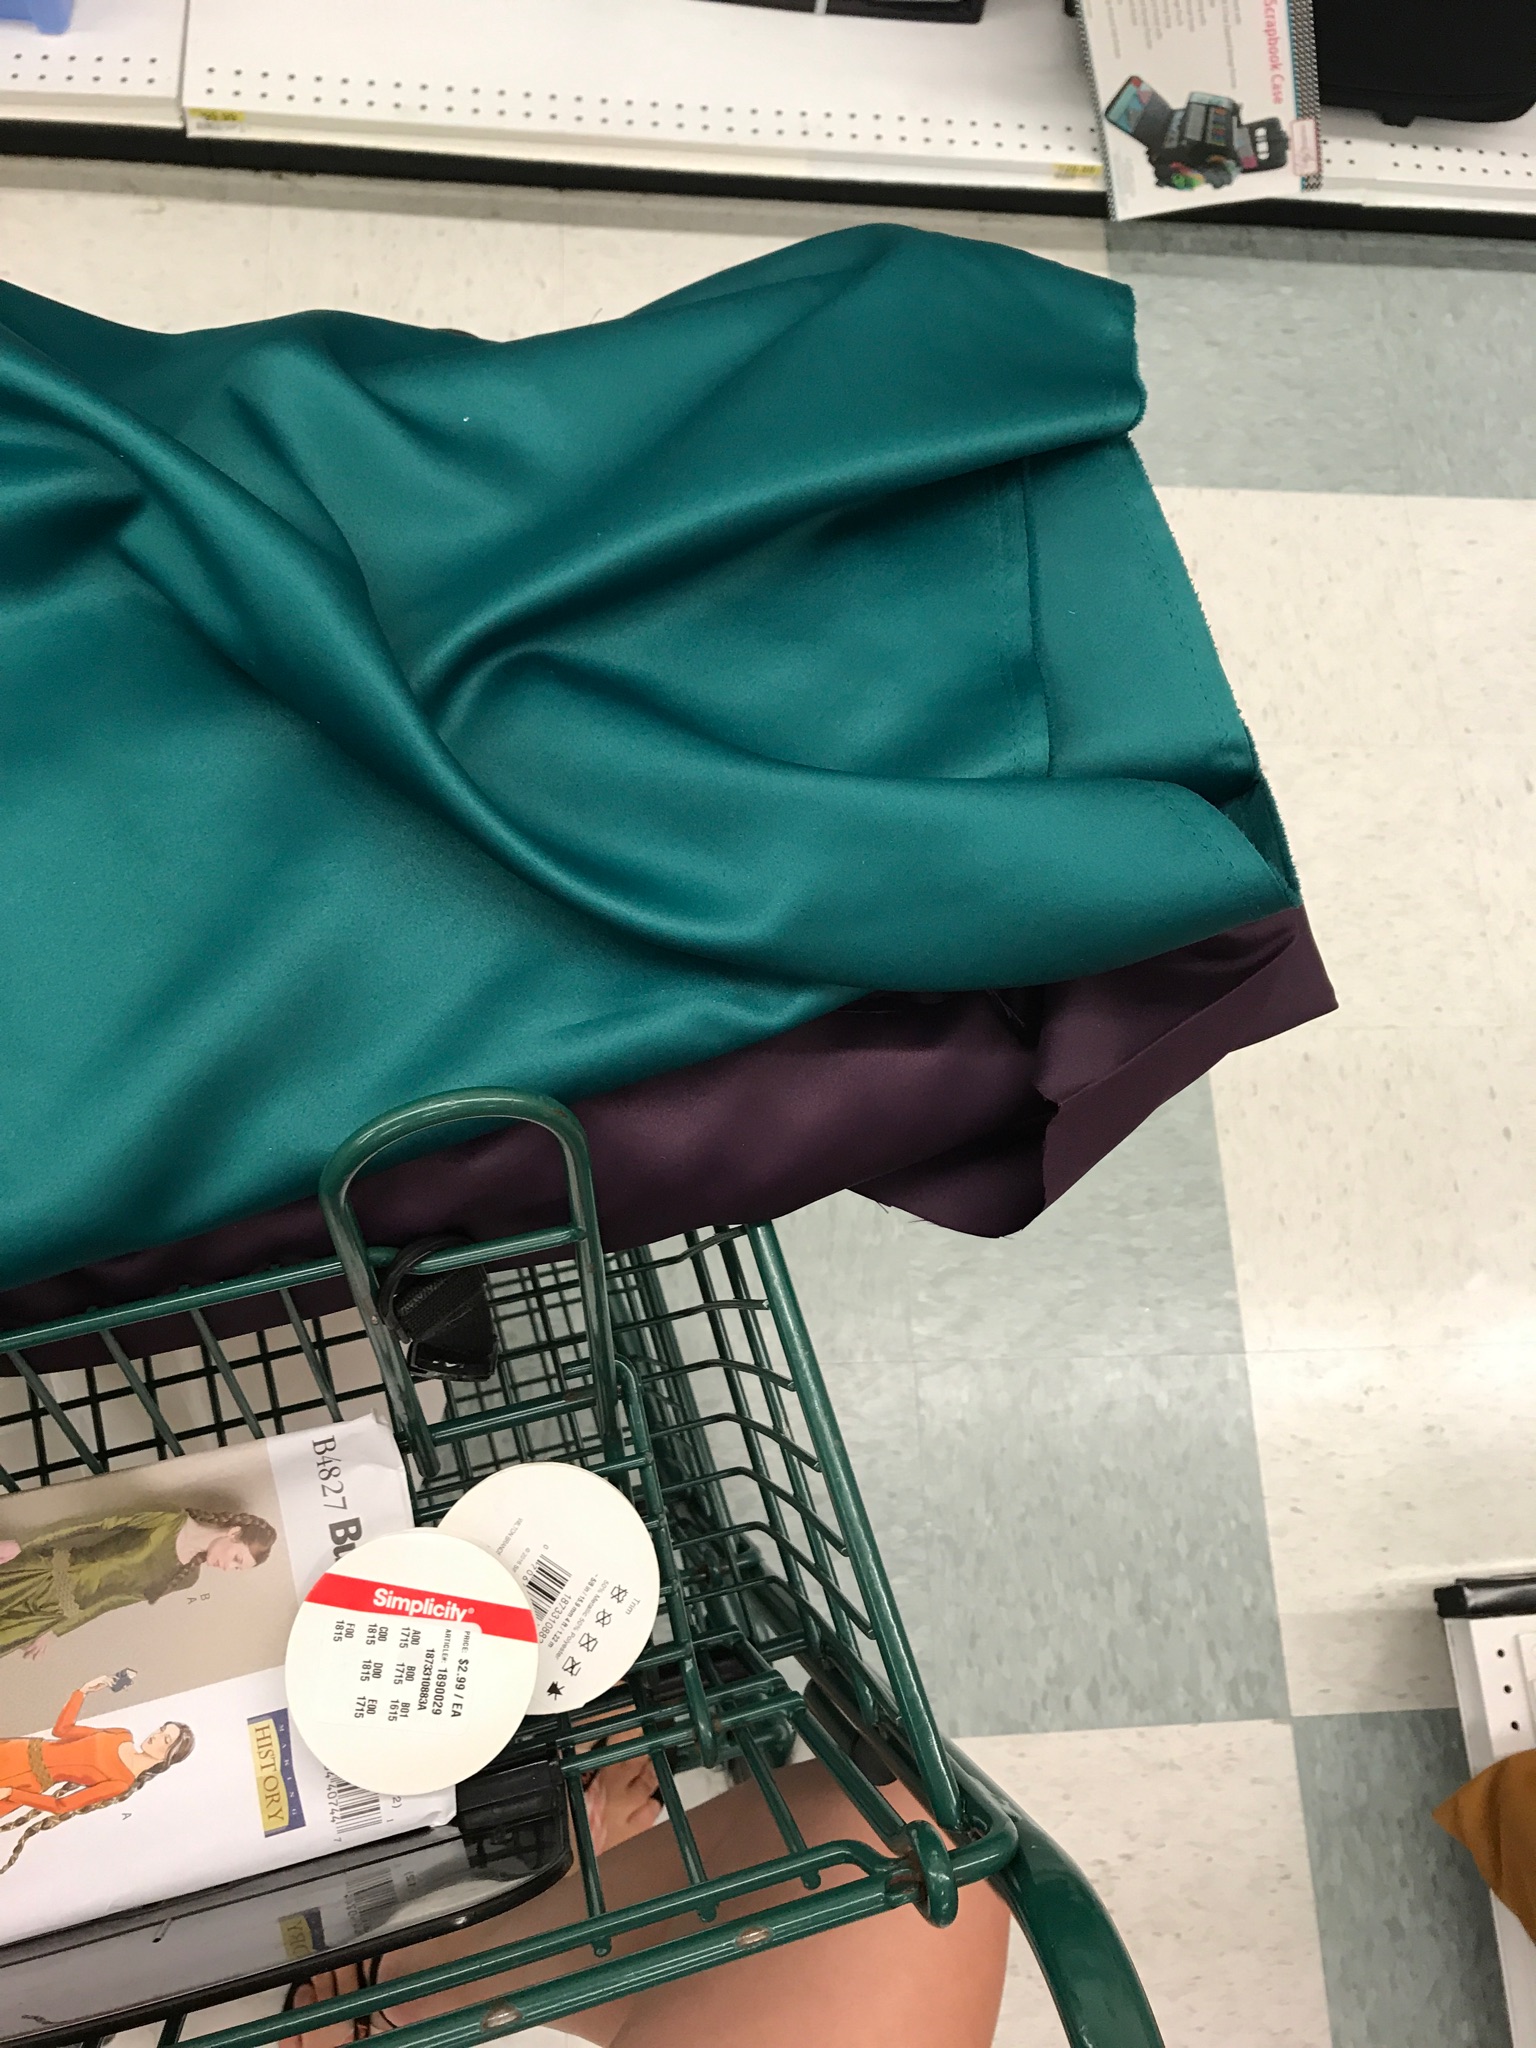
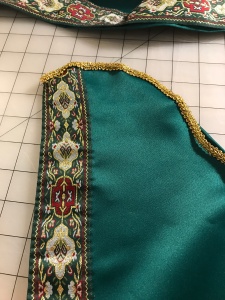
One of the things I find difficult with box stores like JoAnn’s is that it’s always terribly hard to find the exact fabric you are looking for. I know I wanted to give her a wine/berry/rich burgundy color for the main portion of the dress and either blue or green sleeves as the accent color. I would have liked to found a nice, thin, wool or a fabric that resembles its texture but the only fabric I could find in the colors I wanted were polyester satins. (Being a bit on a budget I went ahead and purchased the material anyways.) I wanted to dress up the pattern a bit and have it match the photo as closely as possible so I found this wonderful green and gold woven trim to use on the hem, neckline, and backs of the sleeves.
The satin ended up being a perfect choice as I began cutting out and assembling the dress it just oozed luxury and elegance, even before applying any of the trim. (I definitely say this has been my favorite dress of 2017 thus far.)
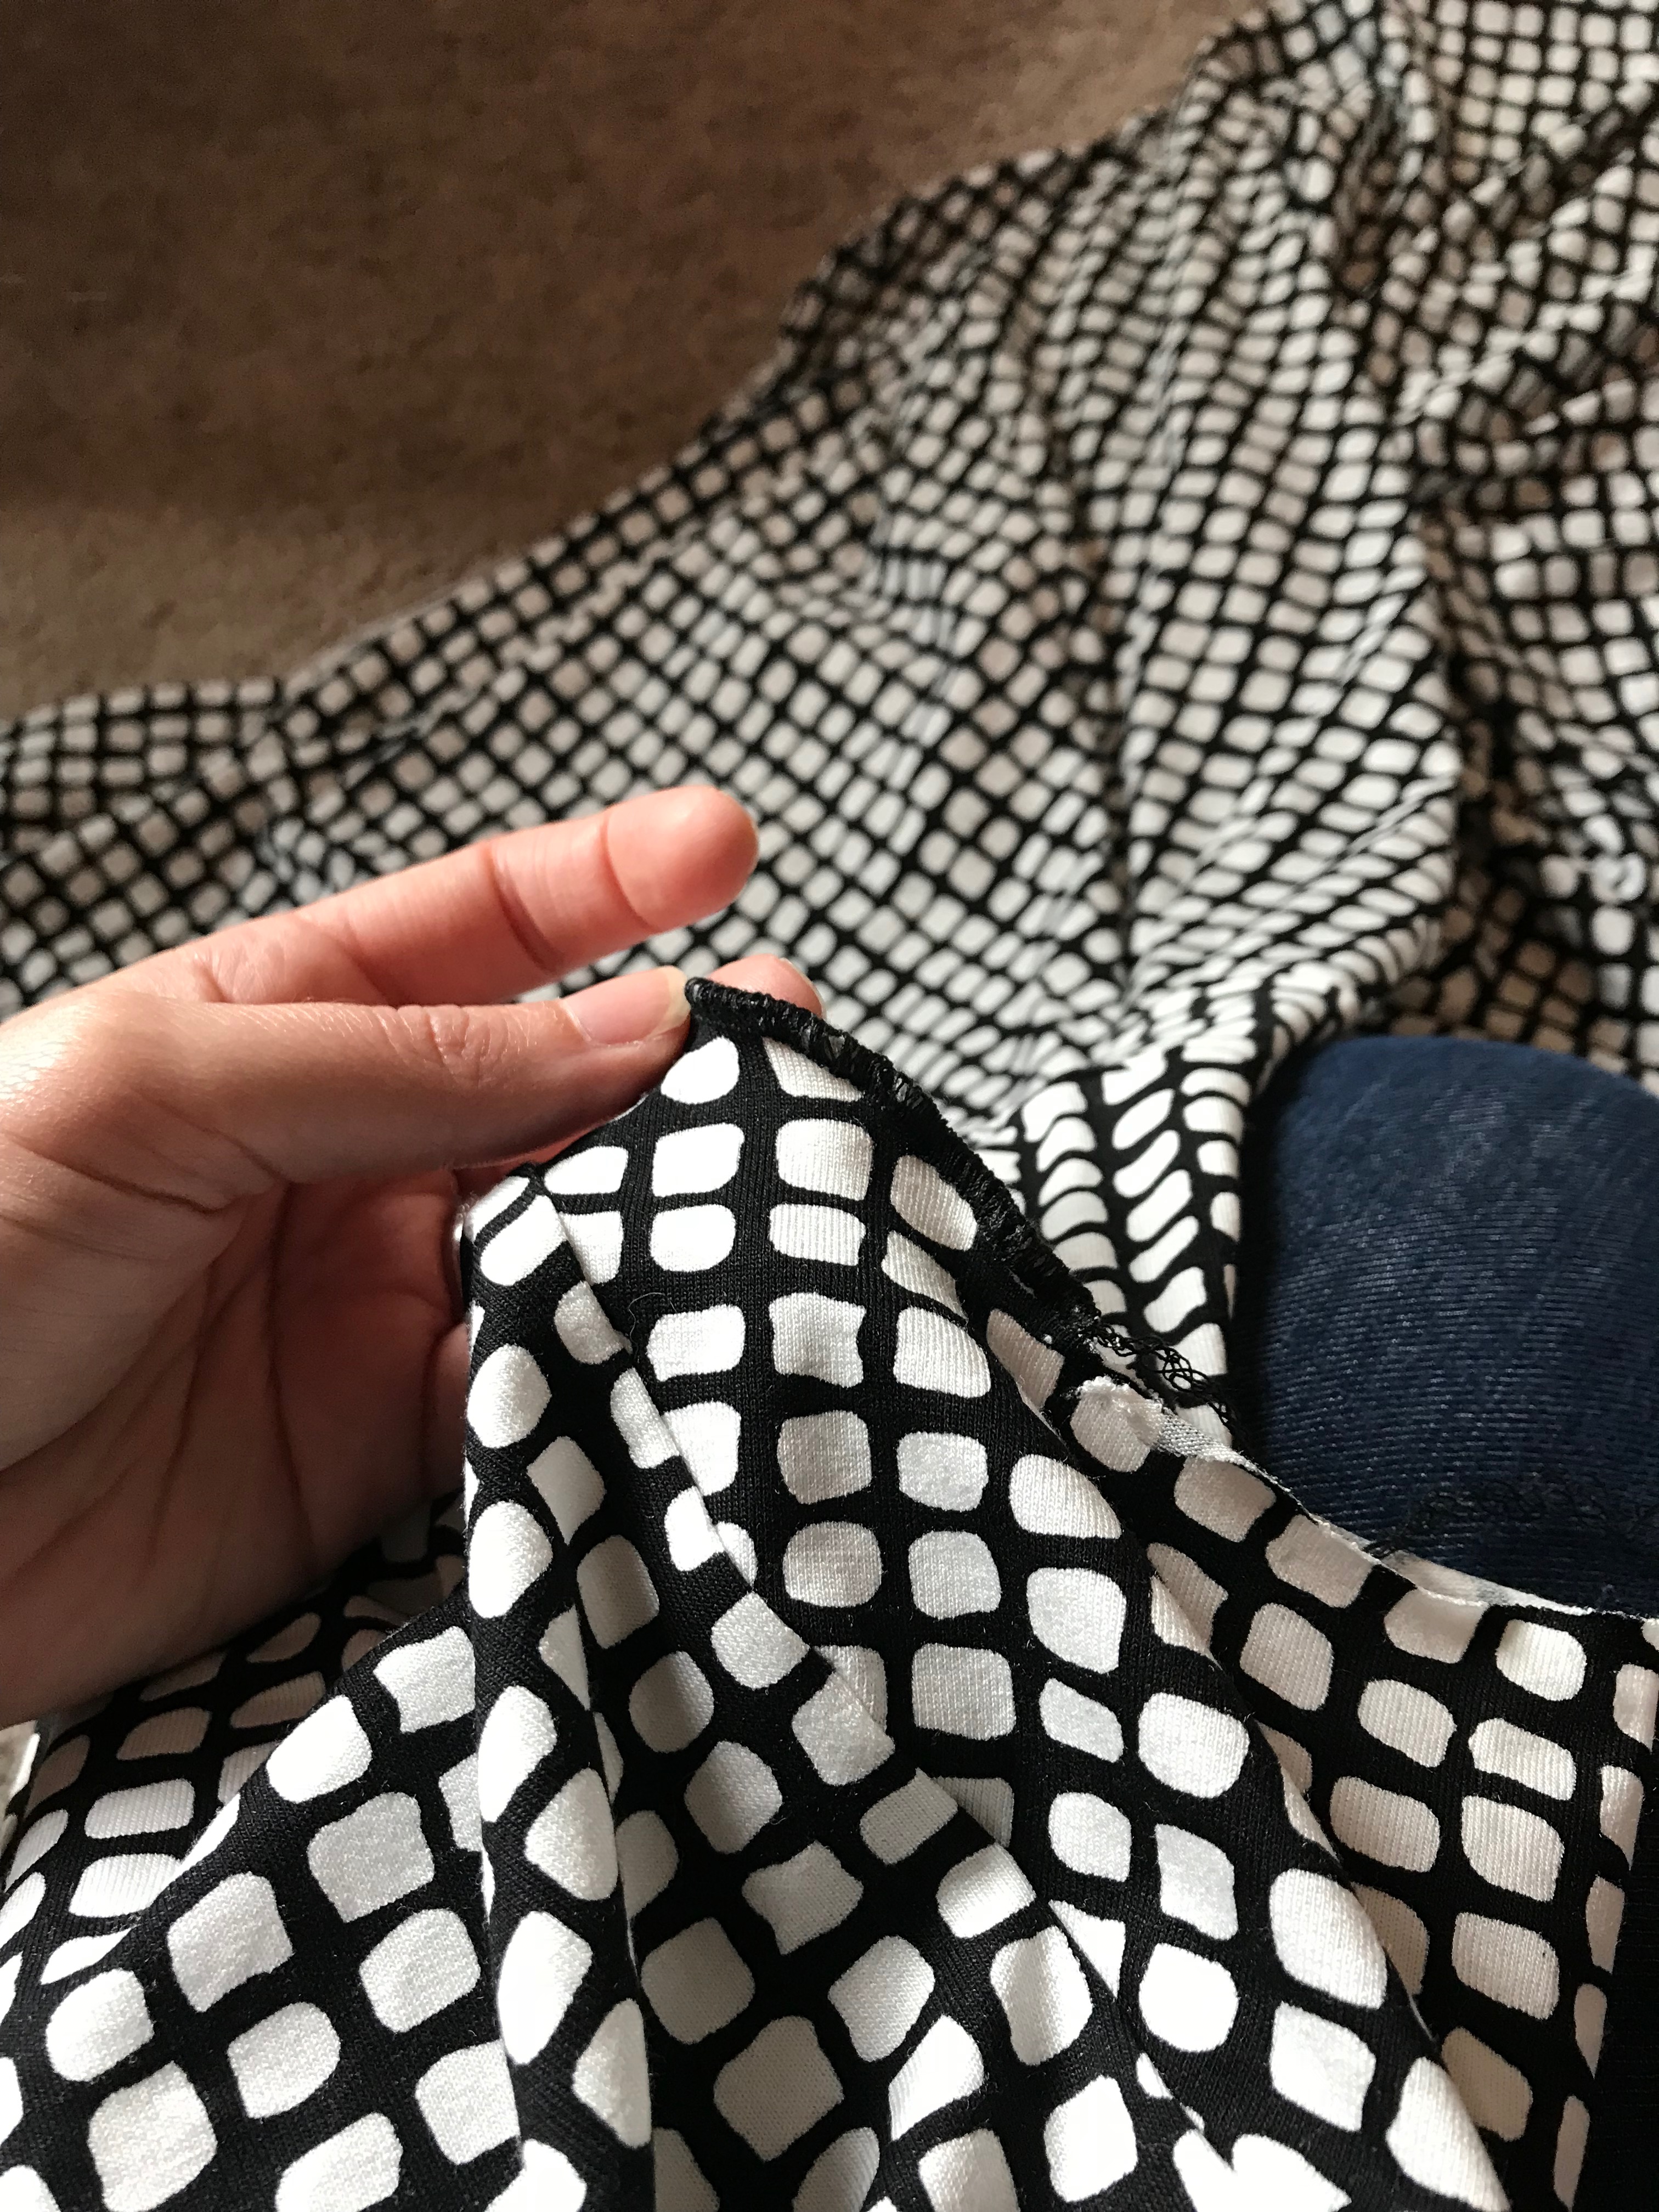
For the sleeves I first cut them out of muslin and pinned them to the dress. Once on the dress form I then sliced the sleeve down the center back. This then became the exterior sleeve pattern piece. Once assembled I hand stitched the trims to the sleeves.
I did cheat slightly with this dress though. I did not make my fried a full proper chemise. Instead I made the sleeve pattern a little larger to give the sleeve some volume and sewed linen sleeves onto the body of the dress. (This was mostly for time saving purposes but I think if I ever make this dress again I will make a full chemise for it.)
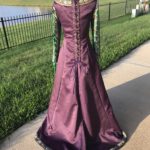
For all of the lacing I went with size 00 gold grommets all over the gown. But as every outfit I make is a learning process and after more research I will be doing eyelets next time to be more historically accurate.
Now for the most complicated part of this whole dress. I dreaded this for weeks and avoided it to the last possible moment. The trim on both the neckline and the hem were the hardest part to figure out, as I have never done a trim like this before.
After much agony and research I discovered that the best way to do this was to sew one edge of the trim to the neckline or hem first and then fold the trim where the hem curved, sew down each fold, and then sew around the opposite side of the trim down to secure it all in place.
At first I did not want to do that as in my mind it did not look right at all but after pulling out my store bought costume from Medieval Collectables, I realized that’s exactly what they did for mine.

All in all this was a great project to have. It really tested several of my skills and after setting all those grommets I would definitely say that I’m a bit of a pro. 😉
Let me know what you think, would you have done anything differently? I’d love some constructive criticism or feed back.