
Curtains
Last week’s sewing activities consisted of creating curtains for my living room. My husband and I have spent several days and hours searching for the “perfect curtains” that would fit our 12′ ceilings but to no avail. Finally we broke down and visited JoAnn’s to look at their fabric selection. The first store we visited was not very fruitful however the second store (which is now my favorite store) had so many options to chose from.
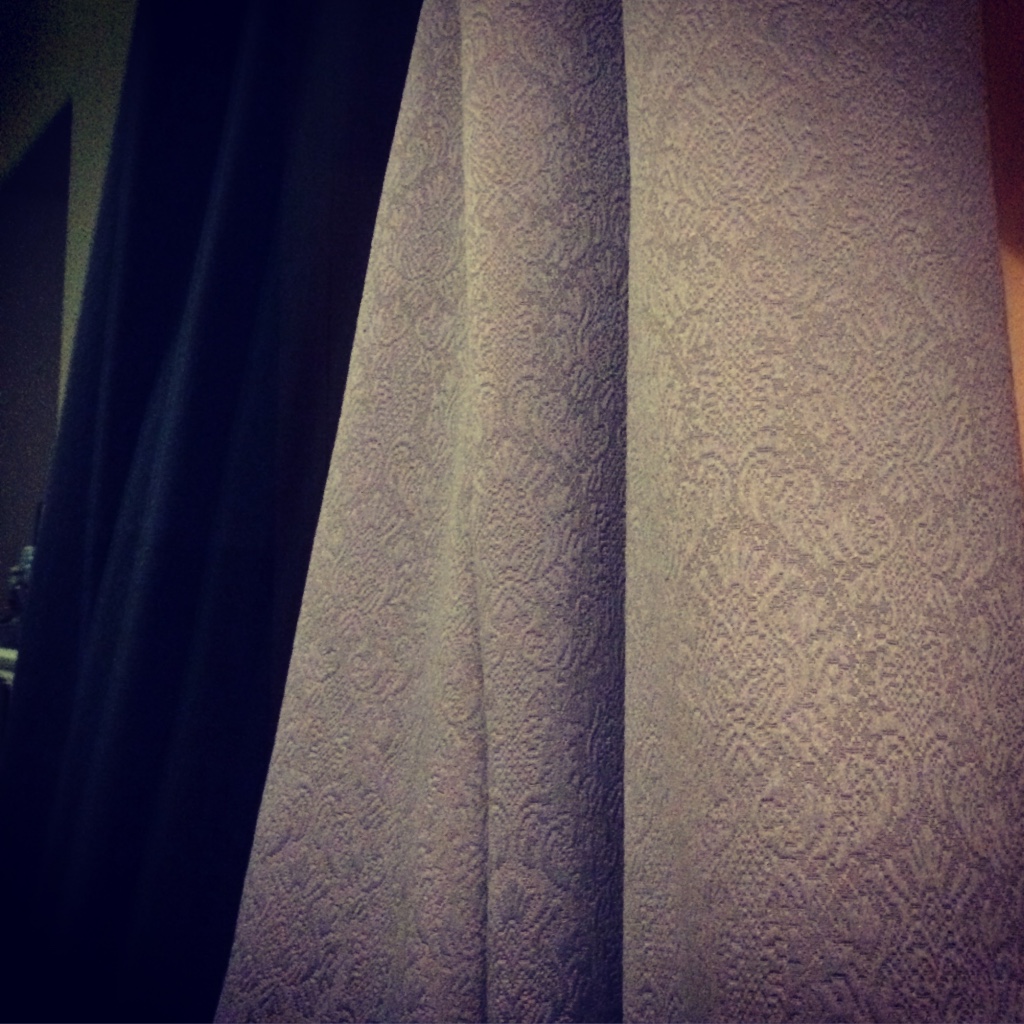
We needed about 4 1/2 yards of fabric per panel that were 54-55″ in width. We got really lucky as the bolt was cut into 4 3/4 and 4 5/8. Can you say SCORE! We chose a blue Jacquard print material and were wanting to go for the floor to ceiling look.
For backing material I picked up some inexpensive off white 120″ wide muslin.
Being that these curtains were abnormally large I had to use my dinning room floor for the assembly process.
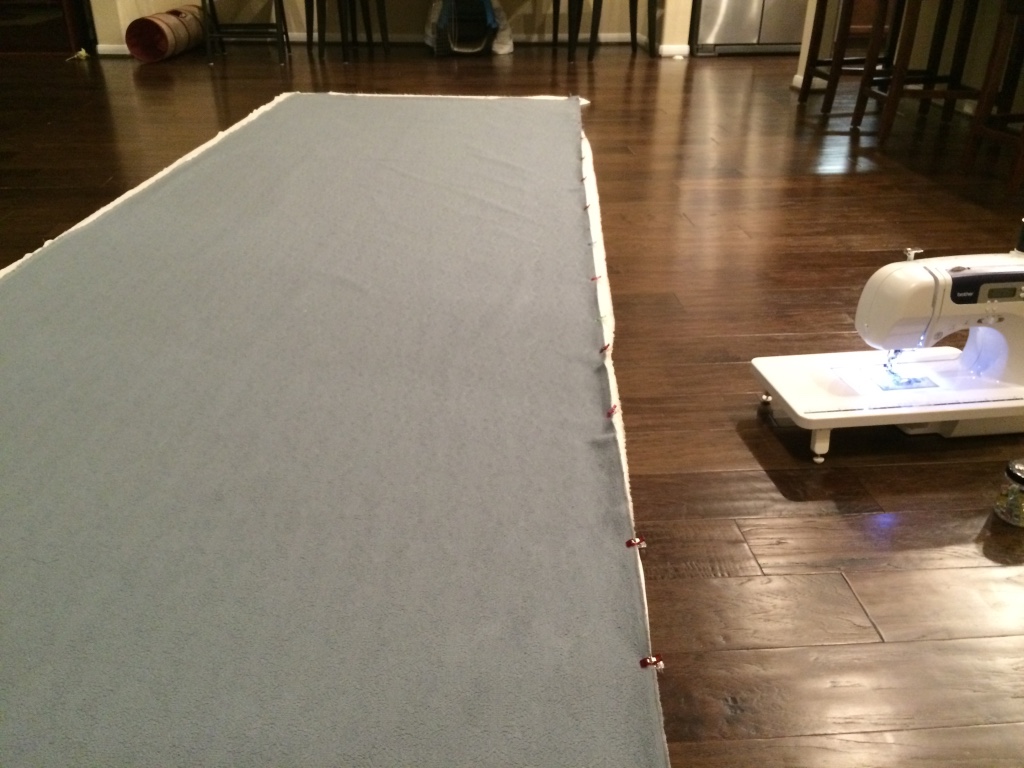
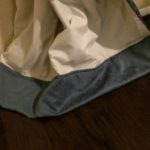
I laid both layers on the floor with right sides together and clipped them. Yes I did say clip instead of pin because I have found a new sewing tool called Wonder Clips, which I purchased off of Amazon.
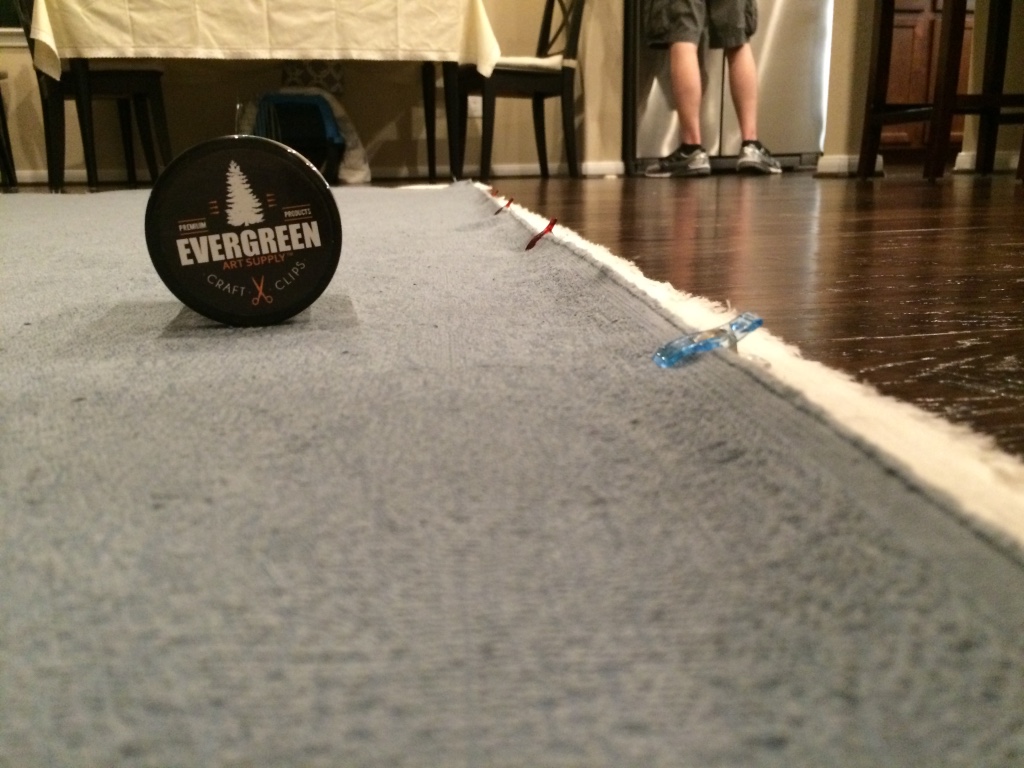
These are great little clips because unlike pins they will not poke holes or snag your delicate fabrics and are staying right next to my sewing machine from here on out.
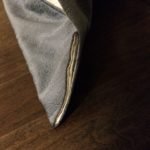
Next I basted together both layers along the salvage edge of the blue material, keeping one end open, to help hold the material together while surging. I could have probably skipped this step however with each panel I ended up having to rip out a side seam to adjust for slippage so this method was very much in my favor. (I wanted perfectly smooth panels.)
Once the edges were surged I flipped the panel right side out and pressed the seams. We wanted to see what the panels would look like hung so my wonderful husband held the curtains up to the ceiling.

I wanted to make hidden loop panels but was discouraged when I could not find the materials I needed and was just going to turn them into regular curtains with either grommets or rings. However IKEA came to my rescue! They have this wonderful Vidga rail system that you can use for simply this purpose.

To go with this rail system they make this pleating tape called Kronill. It is perfect for this rail system or you can purchase the typical pole and use it that way.
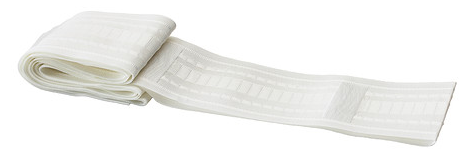
Finally to complete the hanging of the curtains we purchased the Riktig curtain hooks that were made for the Kronill tape.

Side Note: I love IKEA because they encourage DIY projects. Not only can you purchase these items from them but you can also purchase a sewing machine, thread, and fabric. And I mean who else loves the satisfactory feeling of assembling a piece of furniture.
After the tape was sewn onto each panel and the hooks were in place I hung each curtain to determine the appropriate length for hemming.
 I hemmed each panel, doing my best not to cut the material in case we need the extra length one day, with a simple 5 1/2″ double fold.
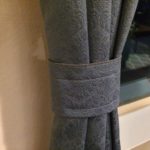
My husband also wanted to have matching tie backs. I had some scrap from a little mishap left from the first panel and was able to cut the strip in half to have two matching tie backs.
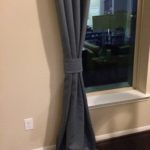
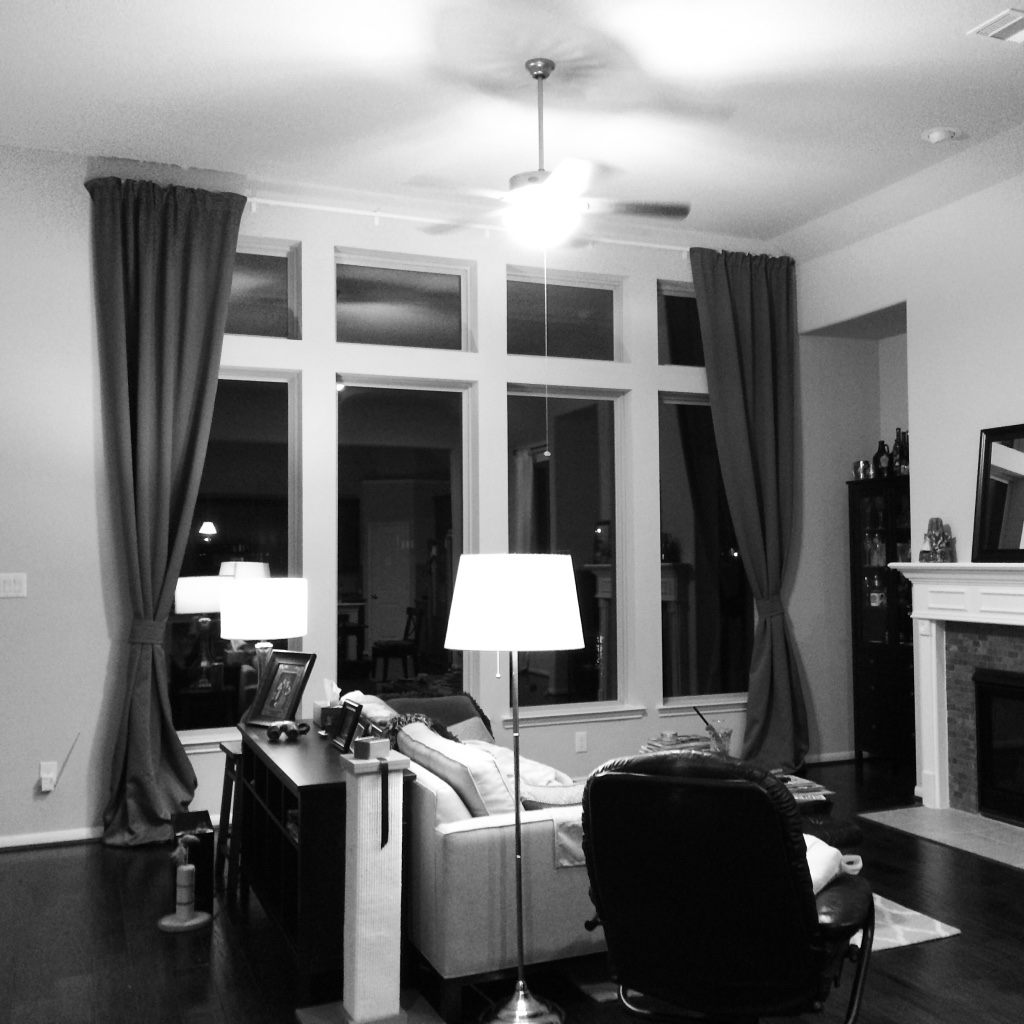
So there you have it. Two complete curtain panels. I will be making two additional panels here in the future but for now this will suffice.

One Comment
Marion
Very Pretty. I love the texture in the lighter side.