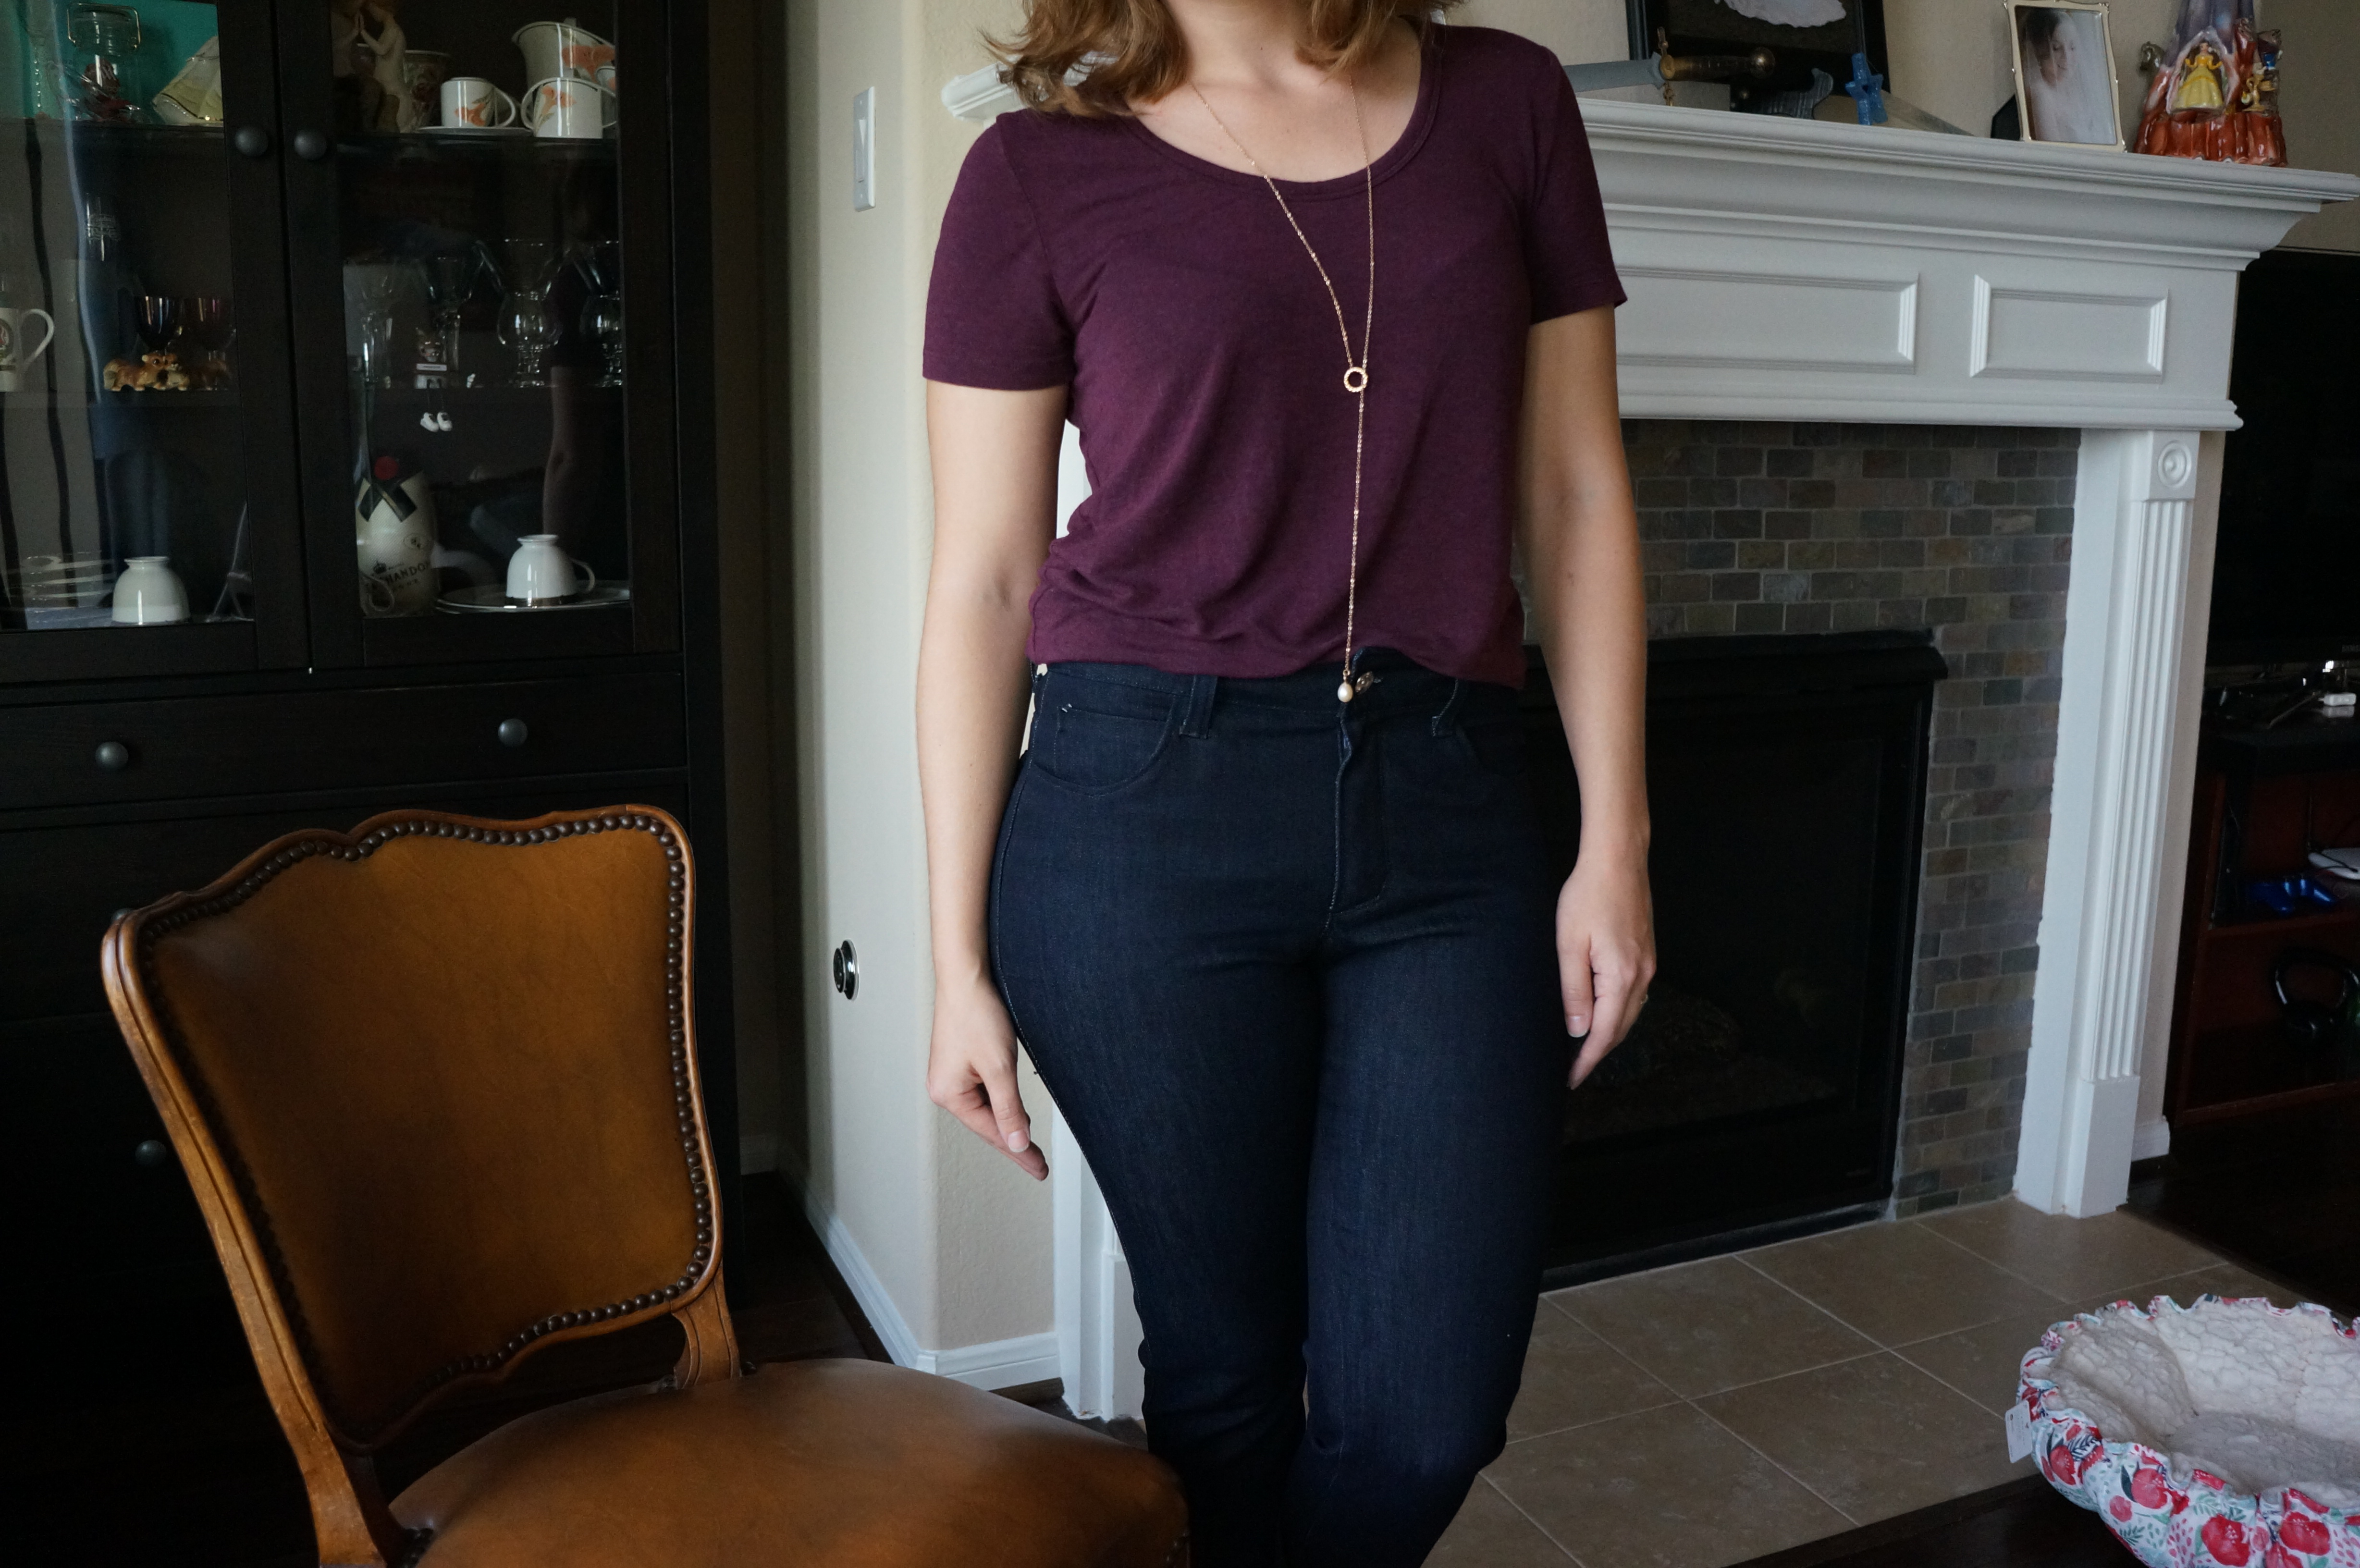
The Ginger Jeans
I’m so excited to share with you all my first pair of jeans! Several months ago I purchased the ginger jeans online workshop from Closet Case patterns and I’m so glad I did. Once I finally broke down and decided to cut into my denim it was so handy to just follow along step by step.
In all it took me about 2 afternoons to finish my jeans and there are definitely tweaks to be made to my next pair. But alas here is my review and make for the Ginger Jeans.

Like I said I purchased the online workshop for the Ginger Jeans several months back and in doing that I also purchased all of my supplies shortly after that. Then everything sat on the back burner for a while until I finally coughed up the courage to cut into and sew together my first pair of jeans.
The denim is a stretched denim from JoAnns, along with all of the notions with the exception of the button which was purchased from Mood Fabrics. There are two things that I did forget to pick up which was an awl and interfacing for stretch material (I’ll explain why the second was a big deal later).
When I purchased the workshop I was really on the fence about doing so because of the price ($60). I’m not saying that $60 is a bad price for an online course, it’s just that I’m a thrifty shopper and always try to find the best deal that I can. In the end though, I’m so glad I purchased the course and if you have never sewn jeans before I highly recommend you purchase it and make the pants step by step.
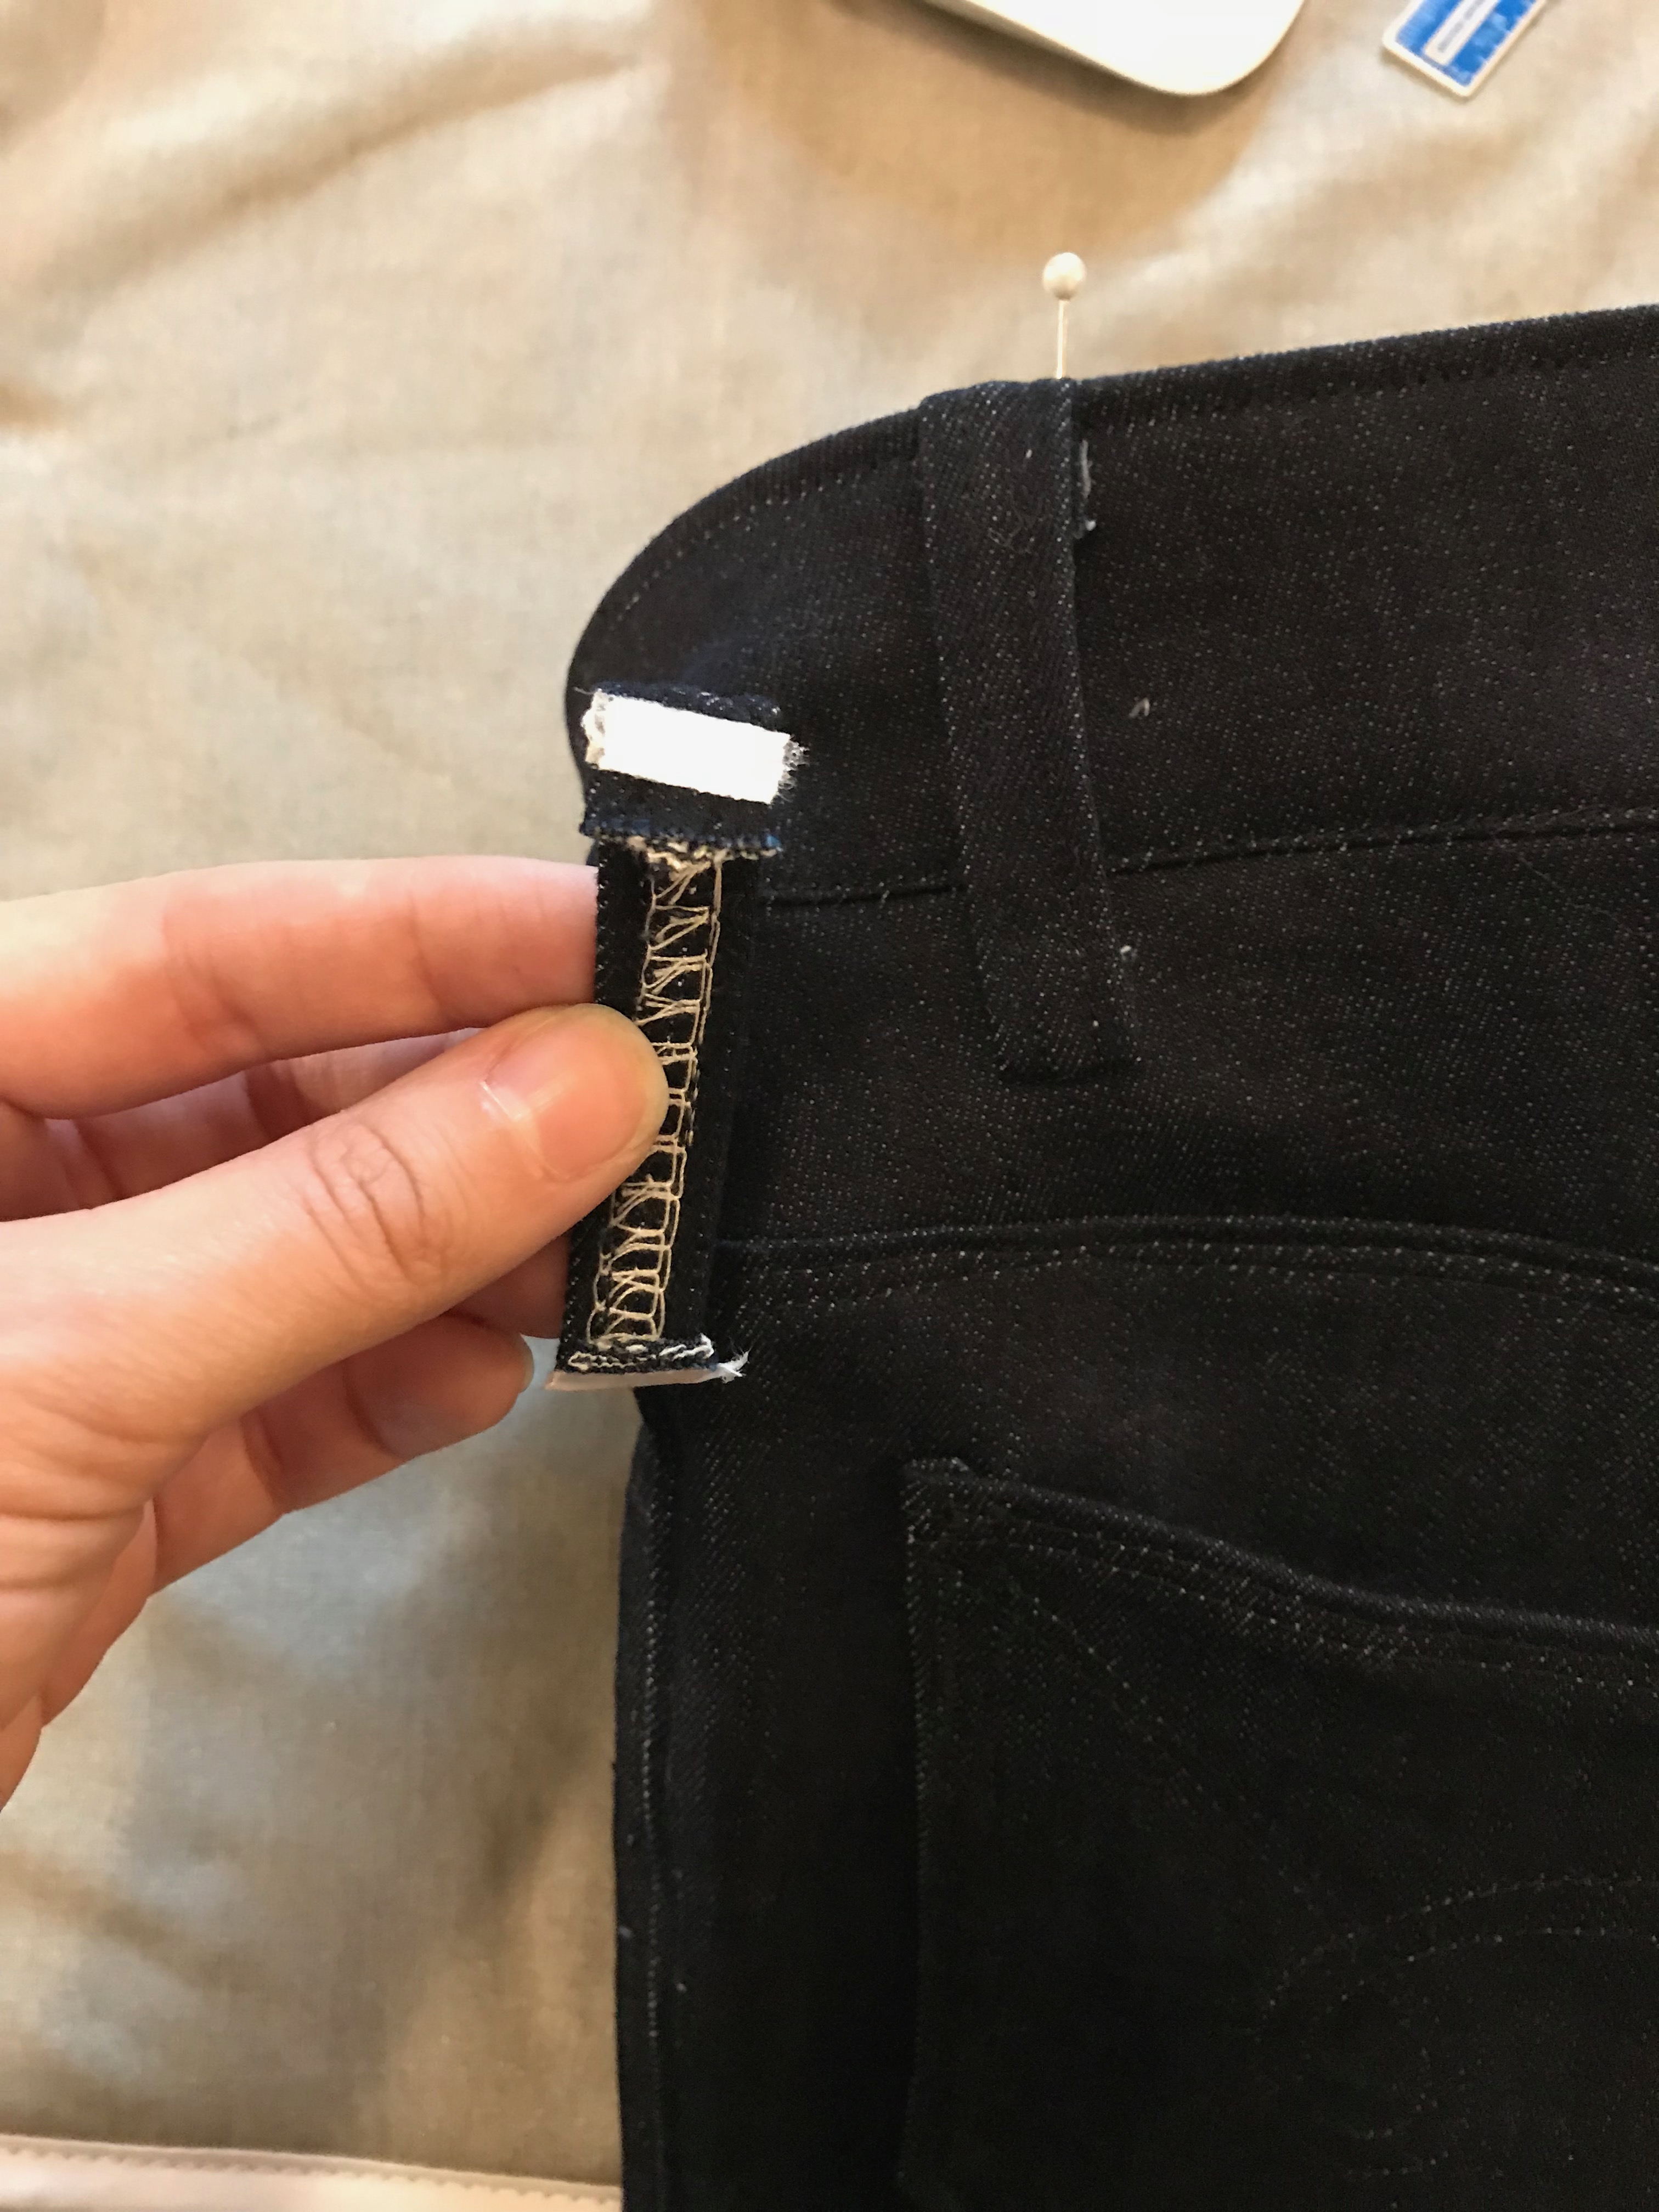
Heather is really great at explaining everything in the course and really makes you feel comfortable sewing one of the most intimidating garments on the books. She gives you reasons of why you should and shouldn’t do things and shares some great tips like how to use your serger to clean up the interior edges or to tack on your belt loops with fabric glue (I used wash away tape) to help hold them in place while sewing.
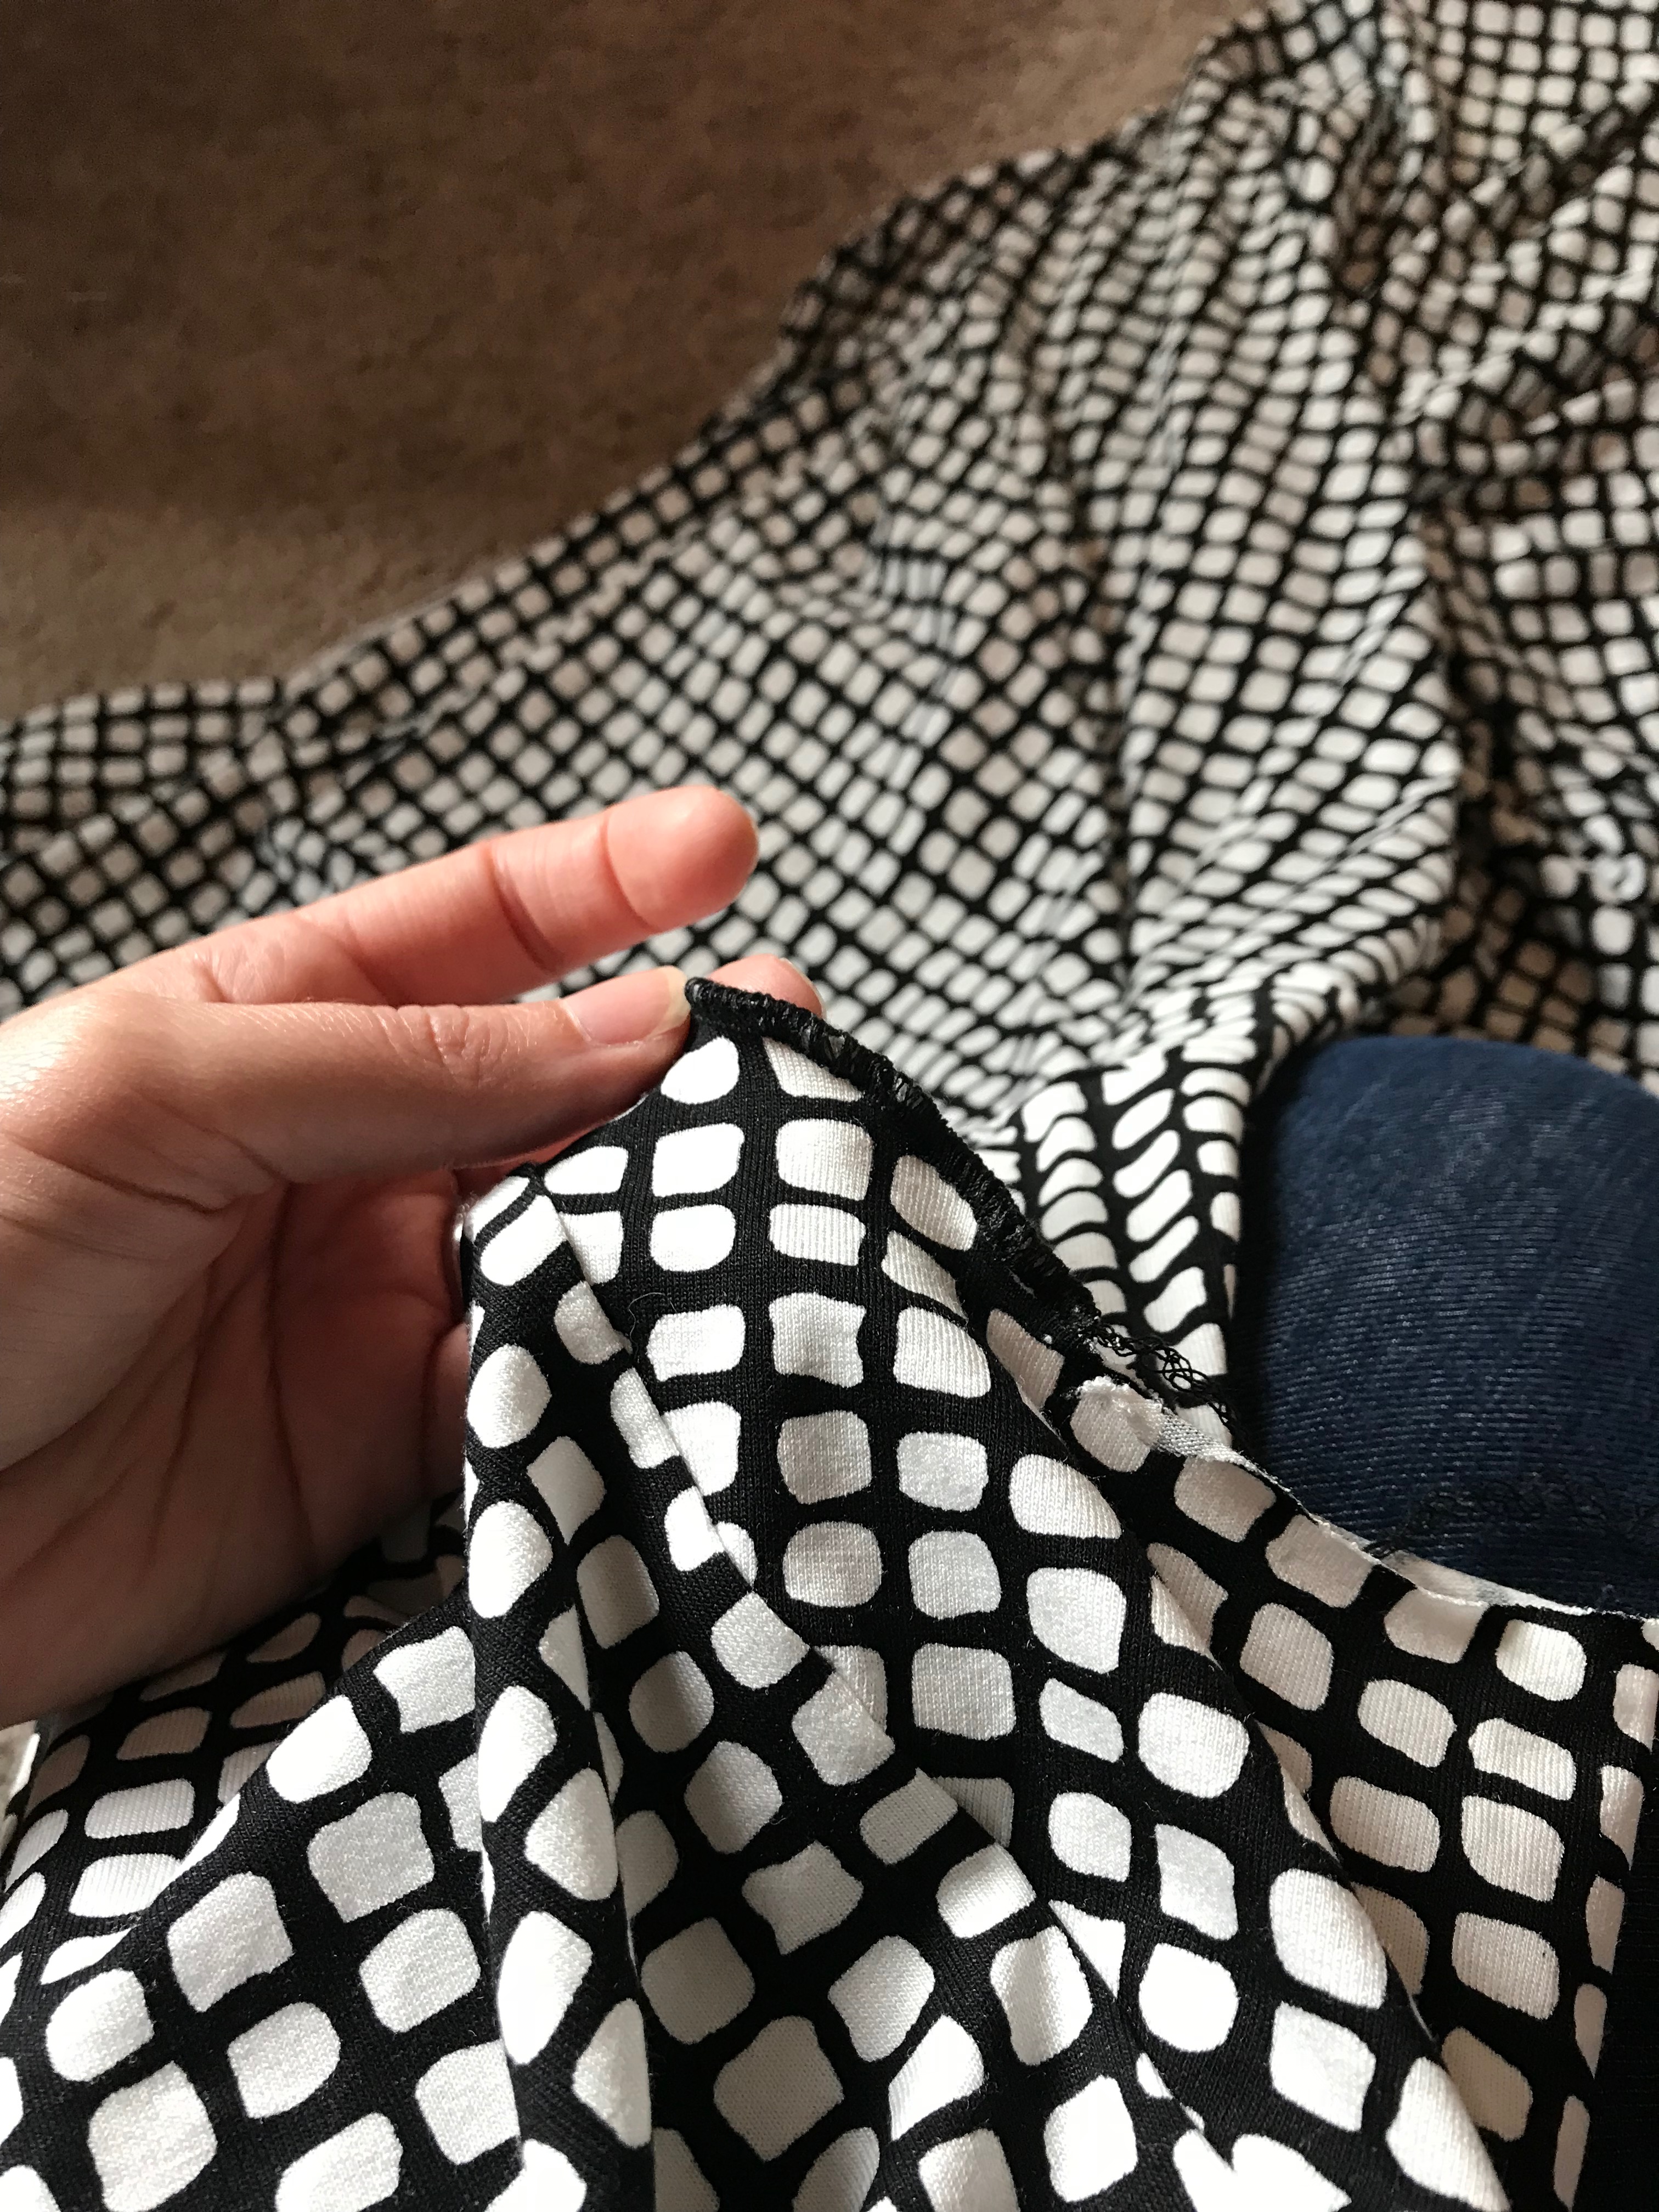
One thing I did wish there was a little more information on was how to do your baste fitting. I felt I really needed help in that department because I wasn’t exactly sure how to improve the over all fit of my jeans, besides letting out the side seams to make room for my thighs. Unfortunately, my finished pants ended up with horizontal smile lines (pictured below) which is the result of needing to alter the crotch seam a bit. (Not the end of the world)

So I mentioned not having any interfacing for stretch fabric. My go to interfacing lately has been cotton organdy, I heard about it from the Sewing Out Loud podcast and have really been loving it. Well when it came time to inter face the pockets I followed her instructions using the cotton organdy (it was the only thing I had on hand) and well lets just say the pockets are extremely tight and it’s hard to get my hand in them at first.
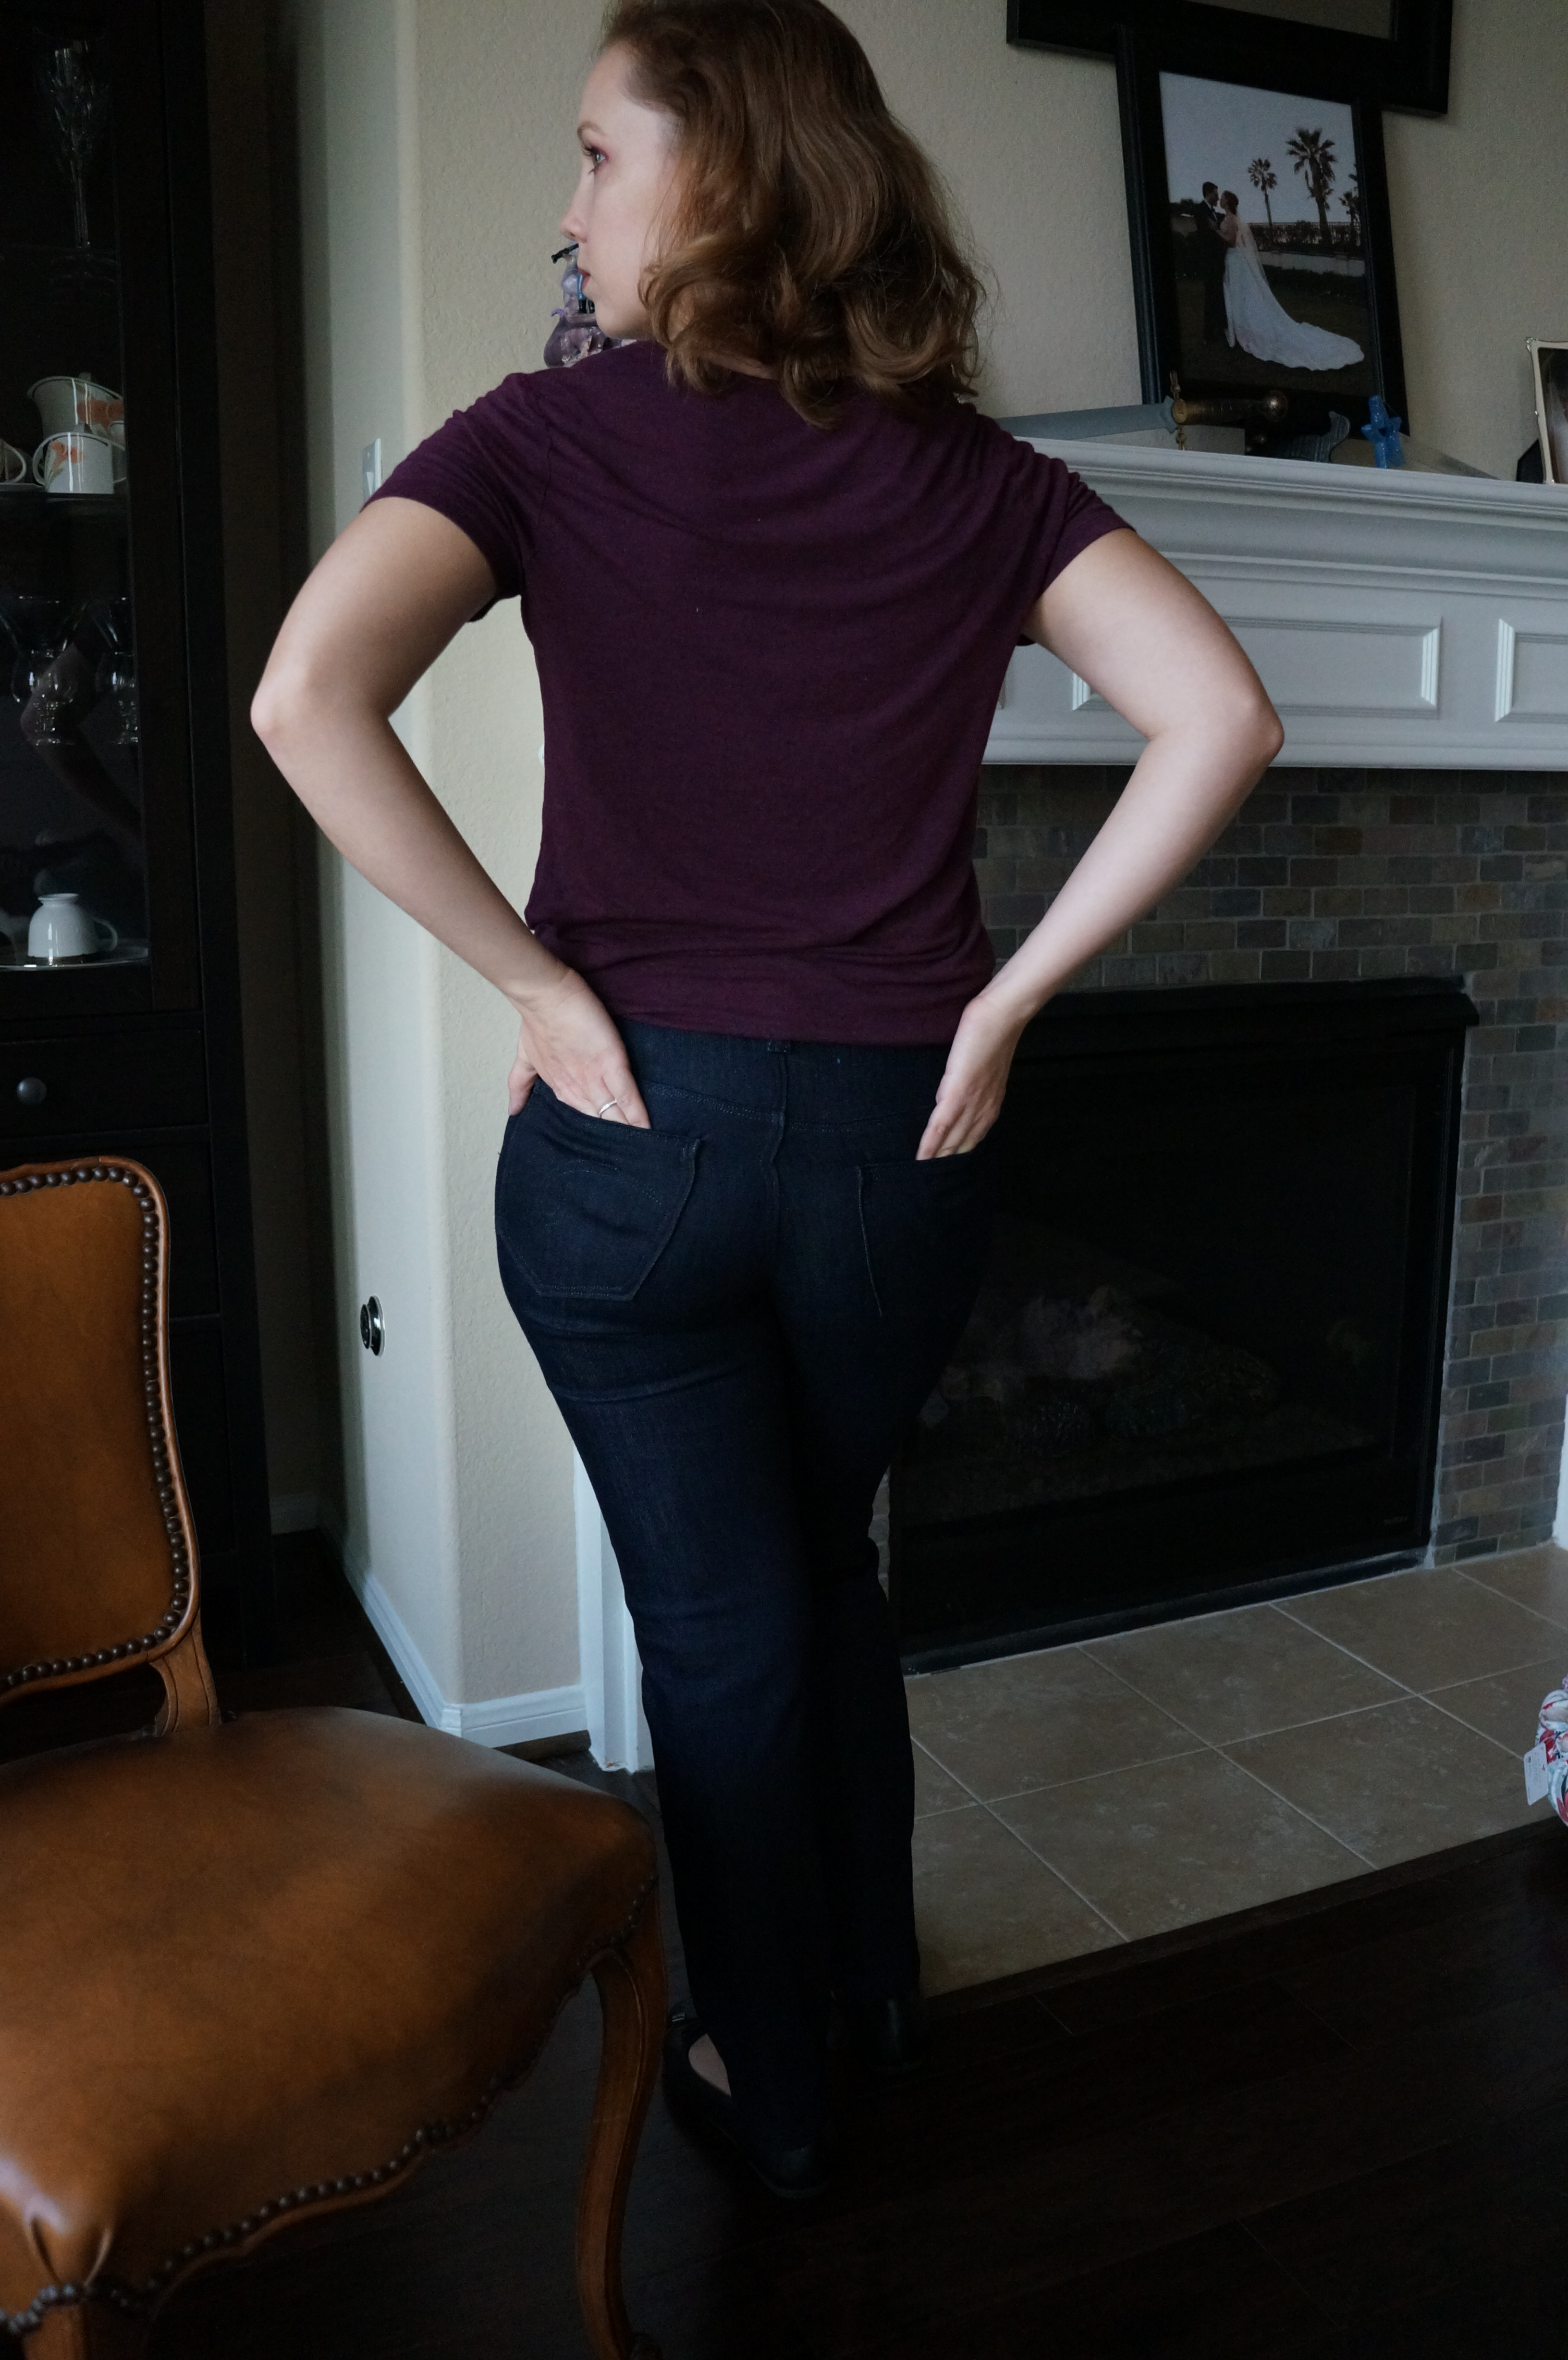
You just thought I was trying to be all cool in my posing. NOPE (laughing at myself over here over my lack of for-sight with that decision.)
Also the overall fit of the jean is fairly snug through the rear and thighs, what can I say I’ve gotta big butt and I can not lie. (I hope that song is now stuck in your head) So my next pair I’m going to grade between a size 4, 6, and 8. I need a size 6 pant leg to about mid thigh where it goes to a size 8, the a size 6 yoke, and lastly a size 4 waist band. (I was throughly shocked when the waistband was all said and done that it was slightly large on me but it left room to tuck in my shirt.)
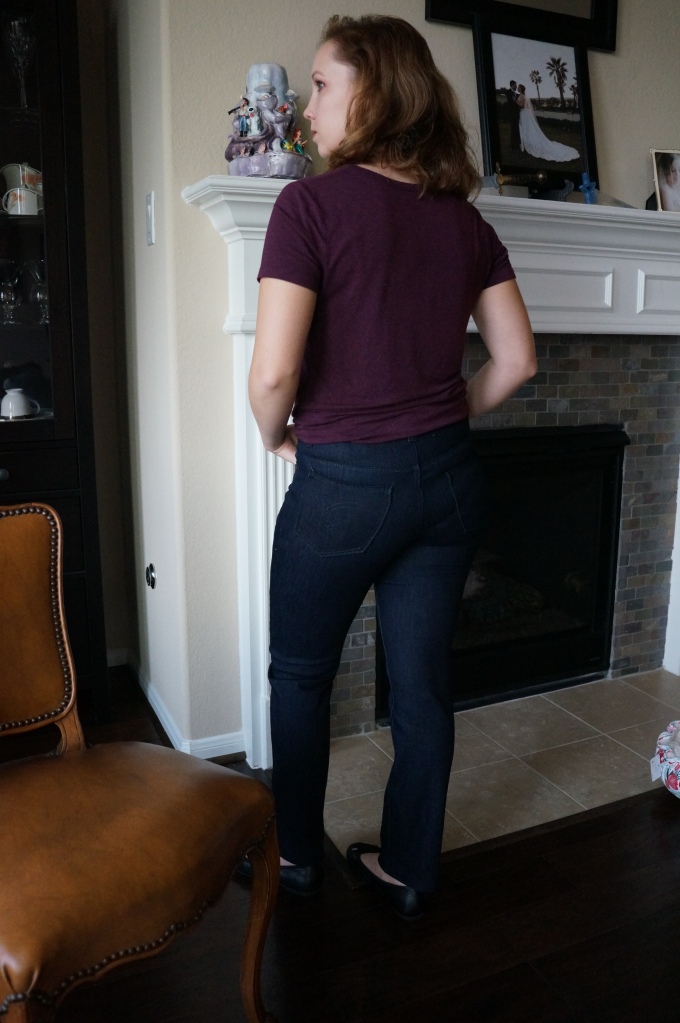
All in all though, I’m never ever going pant shopping again!! I am now free of never having to spend countless hours and days finding jeans that will fit me just right. I’m so happy with my first pair of Ginger Jeans and can’t wait to make time to make more of them in the months to come. But for now I’ve got to work on the rest of my fall/winter wardrobe plans.
Item 2 of 6 complete!
